Basic Model Yacht Finishing/Refinishing
Article by Walt Shuggs
Given the number of issues that can arise while applying a finish to your model yacht, here is a step-by-step
process you can follow to ensure a successful paint job.
- Wash the entire model with dishwashing soap (like Dawn) and water to remove soluble dirt and contaminants.
- When dry, clean the area to be painted with a fast-evaporating solution (like rubbing alcohol) to remove any wax and/or grease left behind.
- Only after both cleaning steps are complete should the boat be sanded to prep for filling imperfections, sanding, and painting. Get rid of the FISHEYES!
- Sand the area to be painted smooth using progressively smoother grades of sandpaper to ensure that the new paint produces the finish you desire. For example, start with #220 wet/dry paper and progress up to a #600 wet/dry paper.
- Wash the boat with clean water again to remove any residue left from sanding.
- Once you are satisfied with the “finish” of your bare (and/or sanded old paint) hull, you may want to apply a primer coat to fill in any microscopic scratches, divots, etc. Be sure to use the same manufacturer’s products – do not mix brands of paint.
- Just prior to applying any paint, use a ‘tack rag’ to remove any tiny bits of debris on the surface. (A clean non-lint type of cloth can be used for this step, although a commercially available tack rag works best as it is sticky but leaves no residue.)
- Read the label on your paint product (spray can, etc.) to see what is recommended for temperature of application, flash time, number of coats to apply, etc.
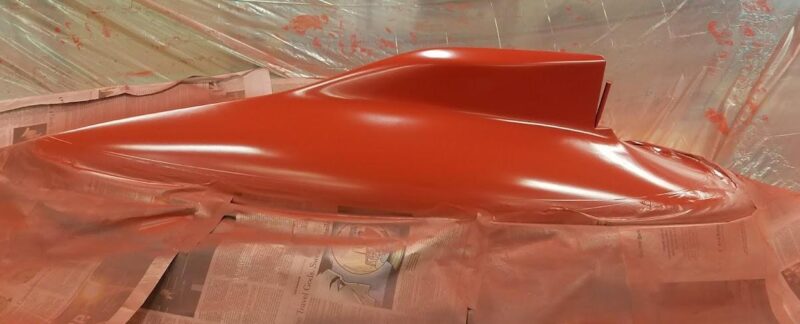
- Apply a ‘dust coat’ and allow that coat to ‘flash off’ before applying the next coat(s).
- Once you have applied a sufficient quantity of coats—getting to the level of gloss you want—let the boat dry for the manufacturer’s recommended time.
- You can enhance the level of gloss on your boat by adding a UV-resistant clear coat or two on top of the color you painted. In fact, you can clear coat the entire boat—even areas you may not have painted—to provide a better resistance to the effects of sunlight.
- Polishing with an automotive ‘polishing compound’ may further improve the level of your boat’s gloss.

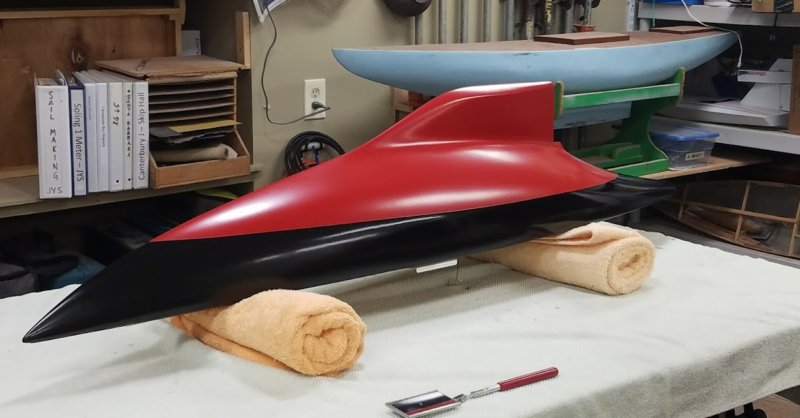
The various tape and other masking materials can be seen here prior to their removal. Photo by John Stoudt.
Some painting tips by TMY Staff
- A further thought on number 8. If you are repainting the hull, make sure that the two paints—the one on the boat and the one you are applying—are the same chemical base.
- If they are incompatible, you can use a high-quality primer to pre-paint the area to be sprayed. Use one by the same manufacturer of the paint you are applying.
- “Flash off” is allowing the solvent in the dust coat to evaporate. Check the label for flash time for your
paint. - Masking the areas you do not want to paint can be done using automotive masking tape. You can stretch it
to conform to the shape of the hull, deck, whatever. Once that tape has been applied and rubbed down, you
can apply newspaper masks to the tape, with painter’s tape to “hide” the entire boat from the paint
overspray. - When removing the tape, pull back on a very sharp angle to ensure that you do not lift any of the paint.
- Set the hull aside and allow it to dry (to the touch) and then let it set for 7 days. This will ensure that the paint has hardened. Caution: The paint will harden to the touch in a couple of hours but will not fully harden for as long as 7 days.

