Article and photos by John Stoudt
Sailing at Redd’s Pond in Marblehead, MA is a real thrill, and having the opportunity to take your 1934 Marblehead back to its home pond is amazing. I take the opportunity at least once a year to bring my M class boat, originally built and sailed on Redd’s Pond, back to sail on her home waters. With this comes a risk. Redd’s Pond has hidden hazards; the entire edge is ringed with either concrete or rocks and underwater obstructions. And of course, there are other boats in the water that can and do become their own hazards—like when you are on a beat with another boat off of your starboard rail and a gust of wind causes your opponent to take a hard left turn right into your boat.
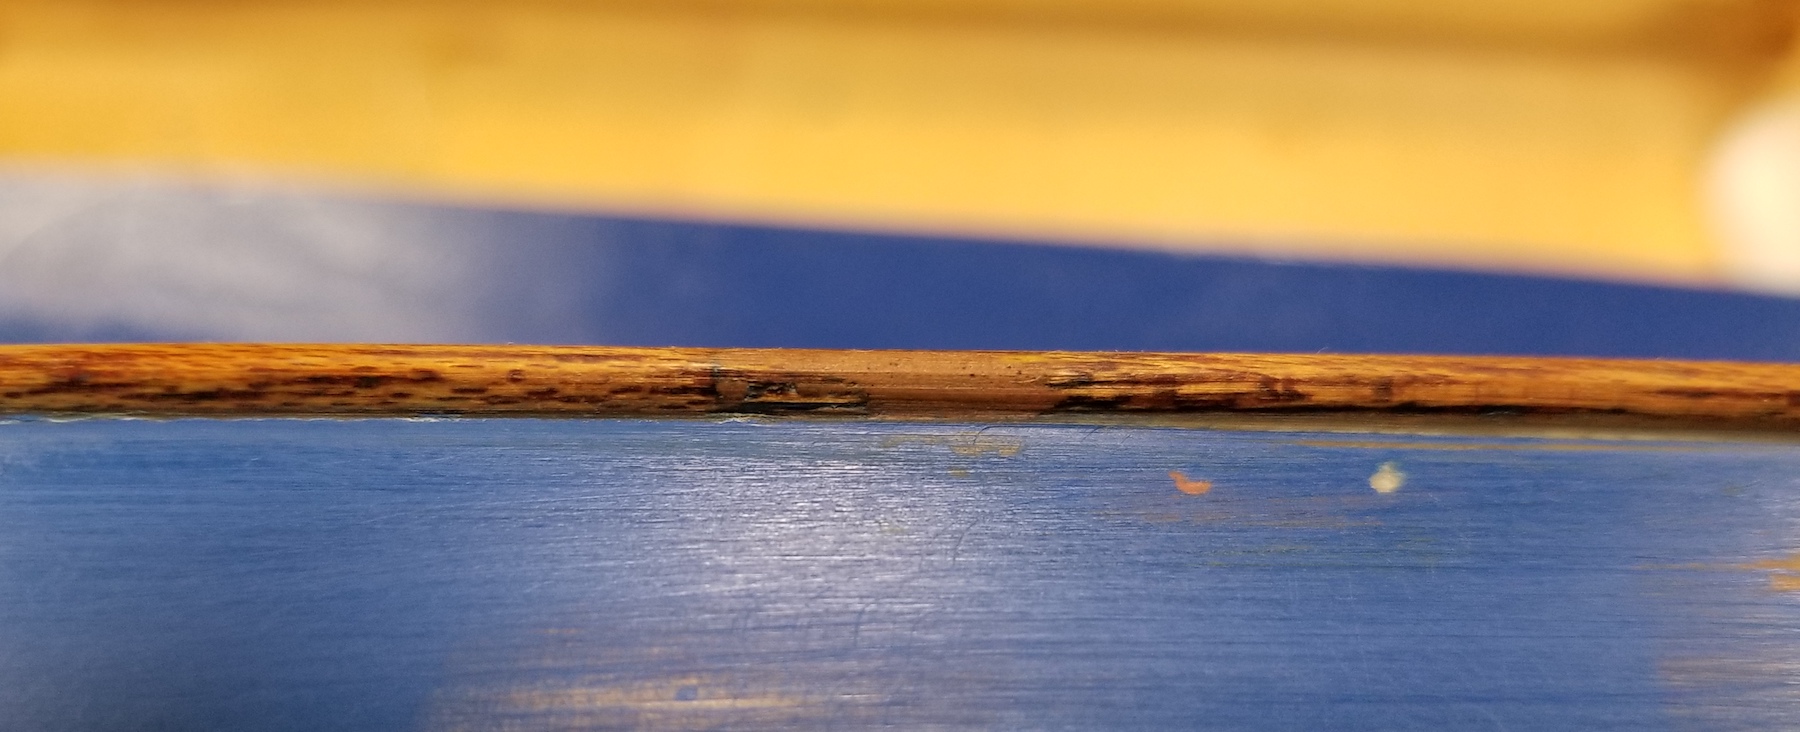
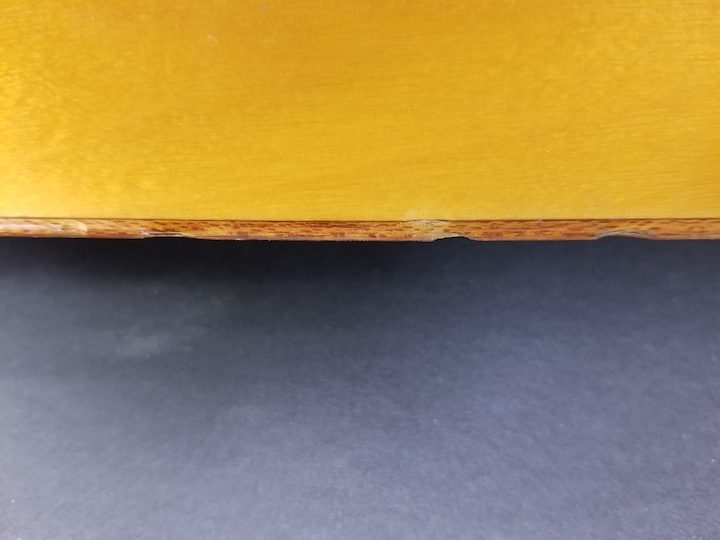
The wind on Redd’s Pond can be fickle, steady over 15 knots, swirling along the graveyard, and generally unpredictable. Coupled with the physical conditions, this can be hard on your boat. Upon returning home from the 2018 Vintage Nationals I inspected the boat. Oh boy, did she take a beating, a few large dings in the hull and many in the rub rail.
The rub rail poses a slightly different issue as it is a very visible feature of the boat. It is a small half-round piece of mahogany that is a good contrast and accent between the deck and the hull. How do you make a nice repair that is nearly invisible when complete? How does one go about this? The process is fairly straightforward using the following steps:
- Carefully rough up (sand) each chip or dent to remove old finish, knock off splinters, and rough up the area to be repaired.
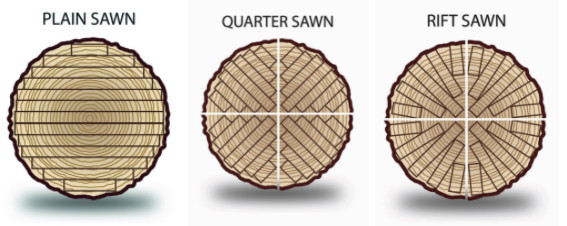
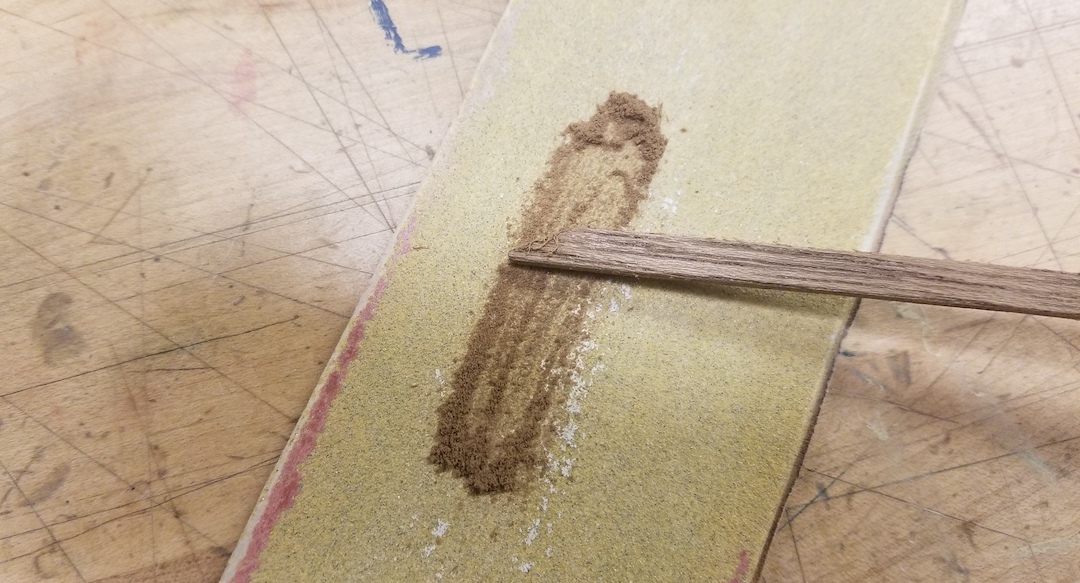
- Take a small piece of mahogany (the same as the original rub rail if you have it) and make a nice pile of sawdust. Collect this sawdust on a piece of paper.
- Mix up a small batch of 60-minute epoxy. There should be enough epoxy mixed to repair all of the dings.
- Use the mahogany sawdust to thicken the epoxy you just mixed. Mix enough “thickener” into the epoxy until it is the consistency of peanut butter. You should have a filler the same color as the damaged rail.
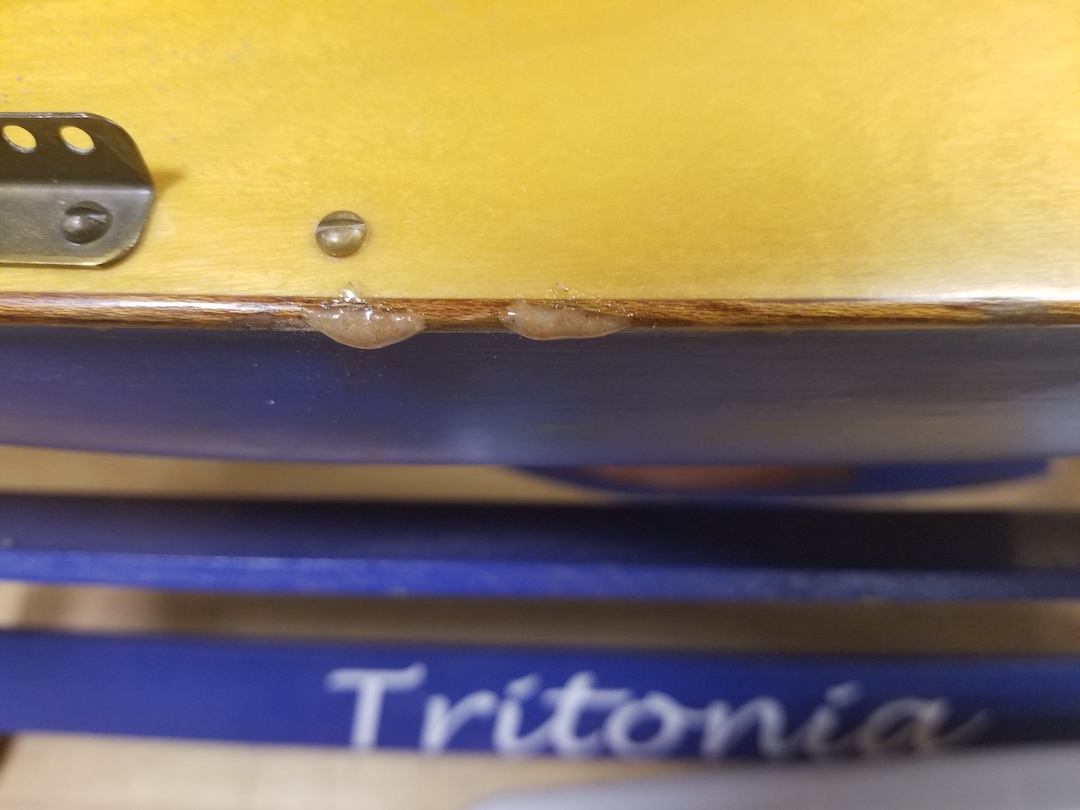
- Carefully fill the damaged areas leaving a slightly larger amount of epoxy than necessary to have the repair remain flush. This will allow you to sand the area down flush with the rub rail. Allow the epoxy to cure completely before proceeding.
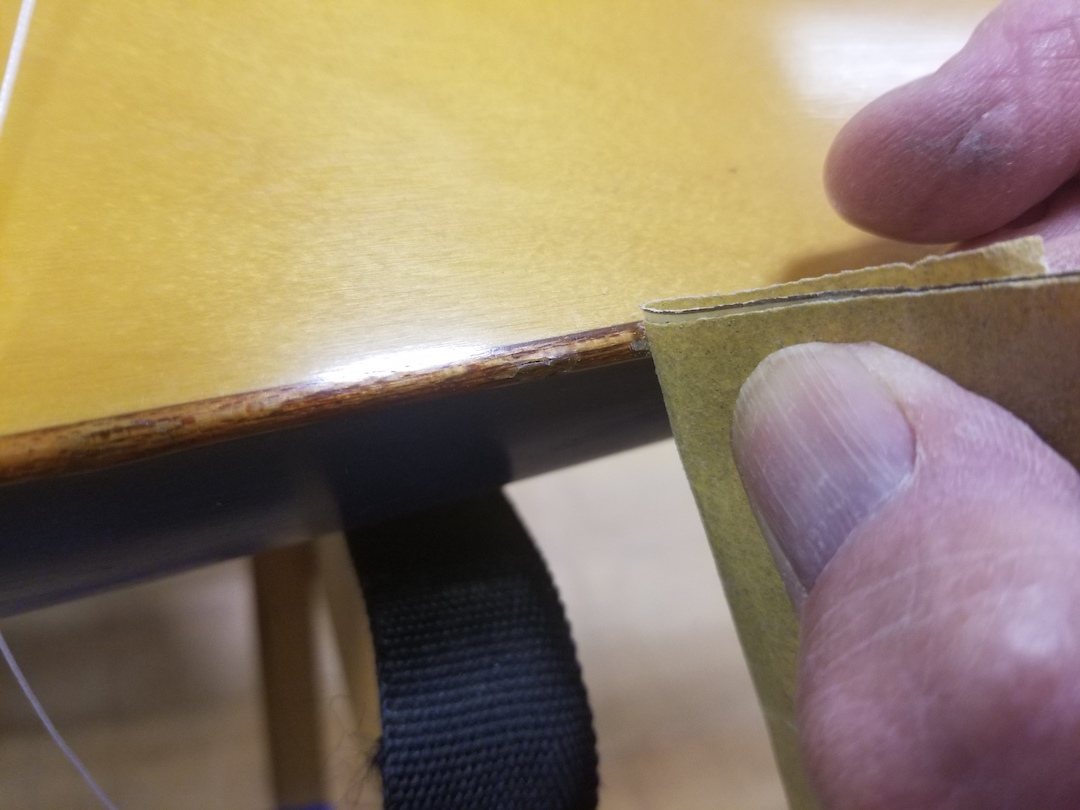
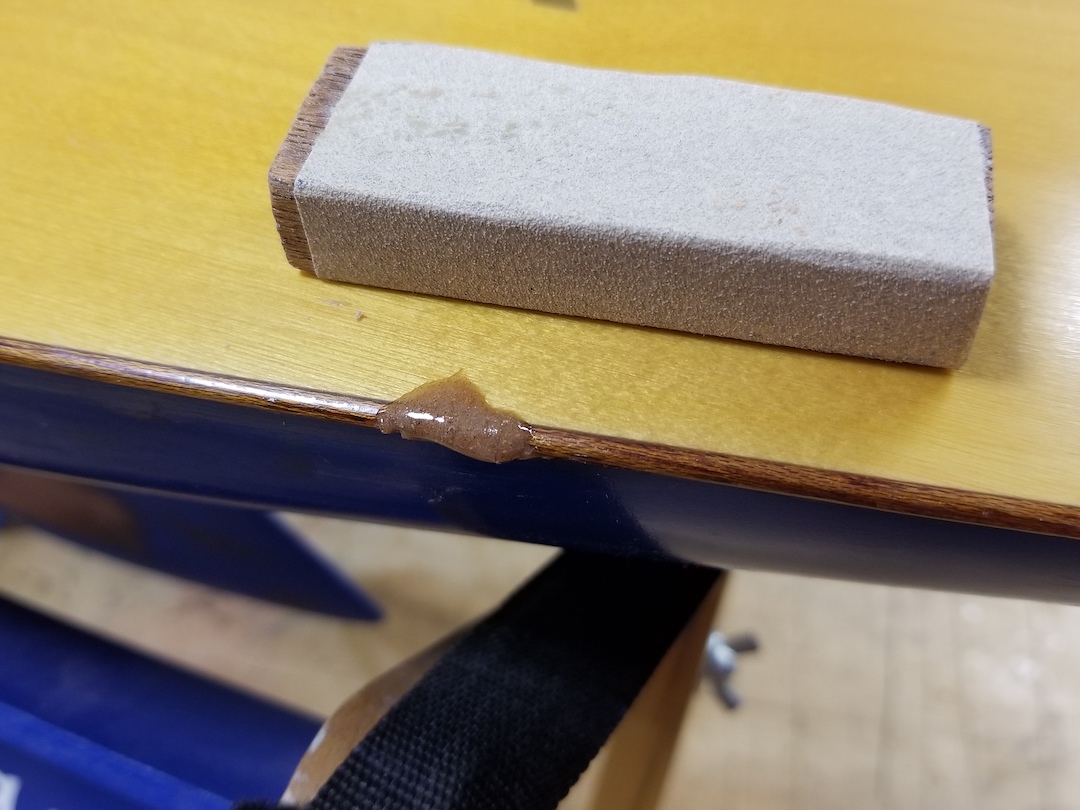
- Sand until the filled areas are flush with the surrounding rub rail. Use 220-grit open coat sandpaper on a small sanding block. Do not rush and regularly check the fix.
- If an area is low repeat the application of thickened epoxy to the low spot. Roughen, apply, let cure, and flush sand. If you apply enough epoxy filler the first time you will not have to repeat this step.
- Using your favorite waterproof finish (mine is Waterlox) apply multiple coats with a lint-free rag—allow each coat to dry. Make sure you wipe the surrounding areas with a clean cloth to remove excess finish. Make at least four applications.
This same process can be used to repair holes in the deck, hull and other areas. Good luck with your repair! If you have a repair technique you use on your boat(s) please write it up and send it in to either myself or Jeff Beck our copy editor.