“Until You Get it Right, Part The Third”
In Which We Apply the Lessons Learned
by Earl Boebert
Hull 7
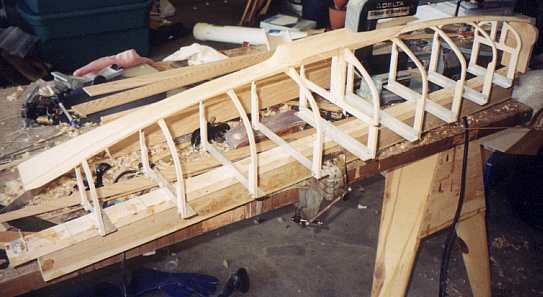
The forward rabbet and garboard radius carved. The front block is missing because yet again I got the area around the bow wrong. The slot in station 45 is for the Lexan box that is going to hold the removable skeg. It takes no strain, so a friction fit will do. A layout error required me to cut this away and build up the braces when it was time to actually install the box.
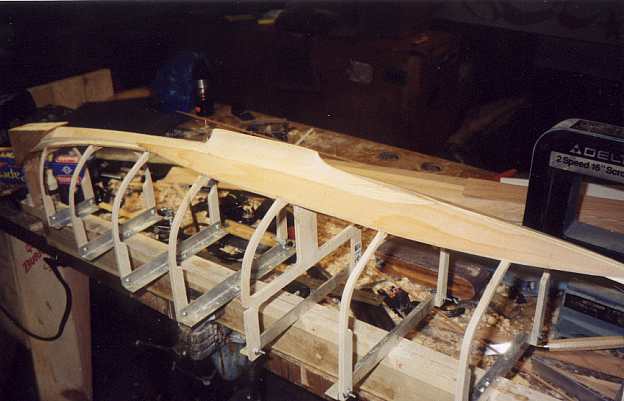
The first of the floor planks installed. There will be three of them, each shaped like a traditional garboard plank (wider at the ends than the middle) from 2″ wide stock. This turns out to be the secret of planking a Rip Tide. You can also see the block used to patch the bow.
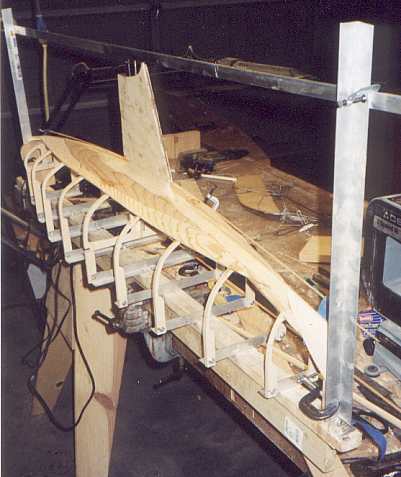
Aligning the fin. This time I used two 1/8″ aircraft ply layers, plus a different way of attaching it to the boat. Also note the use of the aluminum angle instead of a string for alignment. Much less fussy.
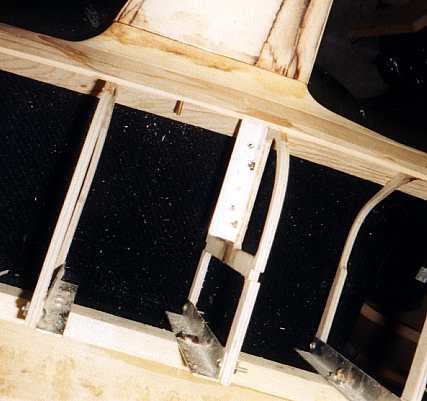
The fin attachment. A 1/8″ brass rod runs down the middle and is bolted to the keel. A 1/16 x 1/2″ stainless strap runs down the aft part, through the keel, and is fastened with aluminum angle to a web which is part of station 25. This is very rigid.
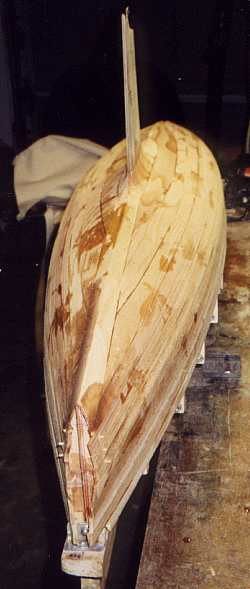
Fully planked, with the first interior coat of epoxy applied. The shape of the floor planks can be clearly seen.
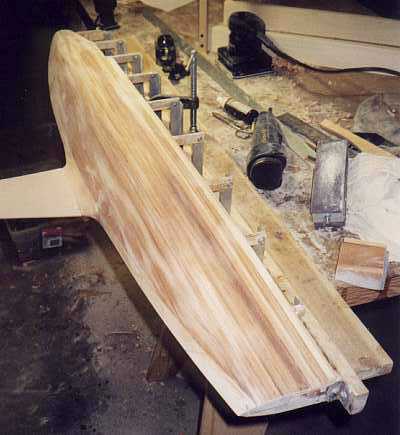
Faired and ready to cut off the building board. The ply fin is covered with mahogany veneer for looks.
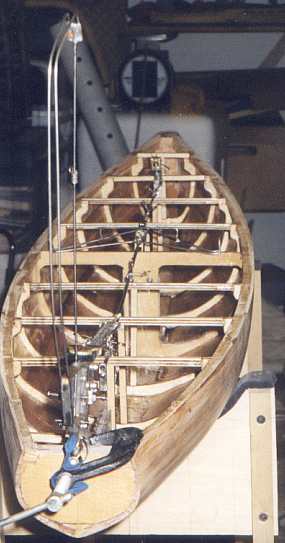
Checking the layout for the “hard points” with the rig and vane. The interior of the hull was given one layer of lightweight fiberglass cloth, and is quite stiff. All the extra strength added about 8 oz. over that of Hull 6. [August 2001: Heavier rig bumped that up to over a pound. I tore out a lot of the scantlings and routed wood out of the keel and end blocks to get the weight back down before casting the keel]
A Note on Keels and Trim
I used a different system to cast the keel this time, and it worked. I sprung for an accurate postal scale (1/4 oz.). I then weighed all the elements of the rig and the vane and filled baggies with lead shot to equal them. After the hull had one outer coat of epoxy I floated it with the bags in their respective positions. I then loaded a plastic bowl with lead shot in the hull and moved it around until she trimmed out on her sailing lines. This gave me the position and weight of the ballast.
I made a RTV (room temperature vulcanizing) female mold of a bit more than half the bulb, using the high termperature RTV sold by Micro Mark. From this I cast a wax male copy from jeweler’s casting wax. This was used instead of the wooden pattern to make the plaster mold, because it parts easier from the plaster.
I cast the bulb halves with the mold on the scale, ladling in molten lead until each one weighed one half the weight of the shot can used for trial trim. This is possible because the plaster molds hold the heat in and the poured lead stays liquid for a reasonable amount of time.
Once cooled, I poured a small amount of epoxy into the RTV mold and set the lead half-bulb in it. This “pots” the exterior of the bulb to the proper shape and saves a lot of messy filing and sanding of the lead.
Once attached to the fin (as before) and tested in the float tank she trimmed out exactly with just an ounce or so of lead shot added to the bow.
After Action: San Francisco
Started out good, then sort of went to pot. Test run under spinnaker was a success. Test runs to find mast position by sailing with vane disconnected were time consuming but worthwhile. Found the rough mast position (17″ aft of stem, if you’re building one to free sail) and she gyed well using the Lassel vane. Smacked the vane on the boathouse door, turned out later that I had knocked the transom block loose, enabling water to enter. Race day a flop, Lassel vane jammed up on me and she wouldn’t sail, so I declared myself out of the race. Mike Kelley has some good pictures of the race, including a couple of my boat. Got home and analyzed, discovered that the problem with the vane was a design error on my part. Fixed that and a couple of other little things, and the subsequent trip to England went much better.

