Article and photos by Ivor Walton
The challenge in building a skeg and rudder is to get them perfectly aligned with the keel. Accurate drilling is required, so a drill press with a drill vise is recommended. For this project I used a fiberglass hull for a V36 Chico II from Blue Crab Model Yachts. I modified the shape of the skeg compared with the one on the plans in order to simplify the building process.
Materials list:
- 3⁄4-in hardwood for keel
- 3⁄8-in hardwood for skeg
- 1⁄4-in hardwood for rudder
- 3/4- by 3⁄8-in softwood, 5-in long
- 5/32-in brass rod
- 3/16-in brass tube (that nests with 5/32-in brass rod)
- Dubro #155 Steering Arm (5/32 in)
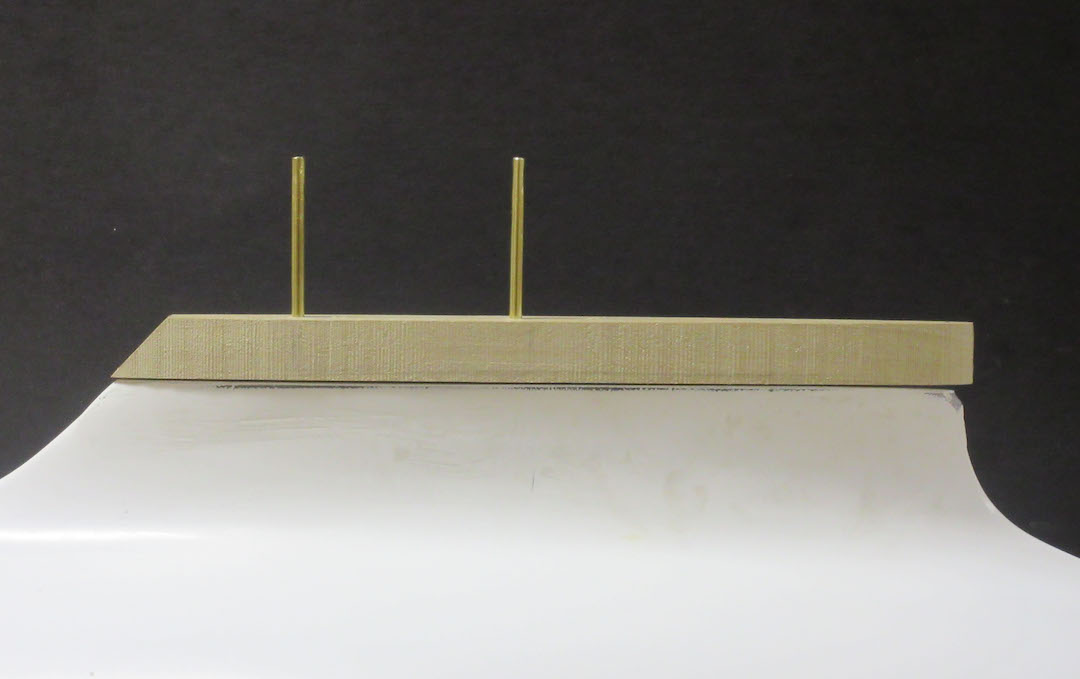
The hull requires an additional layer of 3⁄4-in wood between the fiberglass keel and the lead ballast, which is pinned in place with two 5/32-in brass pins. It will be secured with screws and epoxy after the lead ballast has been attached to it. Drill the two holes for the pins through the wood with a drill press so that they are exactly perpendicular to the waterline. Then, holding the wood in place on the keel, continue the holes through the fiberglass keel with a hand drill. Put a 5/32-in brass pin through the first hole before drilling the second one. Leave the pins loose at this time, and leave a couple of inches protruding above the keel.
The next step is to epoxy a piece of 3⁄4- by 3⁄8-in wood inside the hull that is long enough to span the area where the skeg and the rudder tube will be. This will be the support for both the rudder tube and the screws that fasten the skeg. To drill a true vertical hole for the rudder tube, the hull must lie perfectly flat (side-to-side) on the drill press. If the port and starboard sheers are not exactly the same height, one side must be filed down. You can either sight down the protruding brass pins on the keel to check that they are vertical or, better yet, use a spirit level on the pins. Now use the drill press to drill a 3/16-in hole through the fiberglass and the wood. Before epoxying the rudder tube in place, check the alignment between the rudder tube and the two pins on the keel. All three should line up.
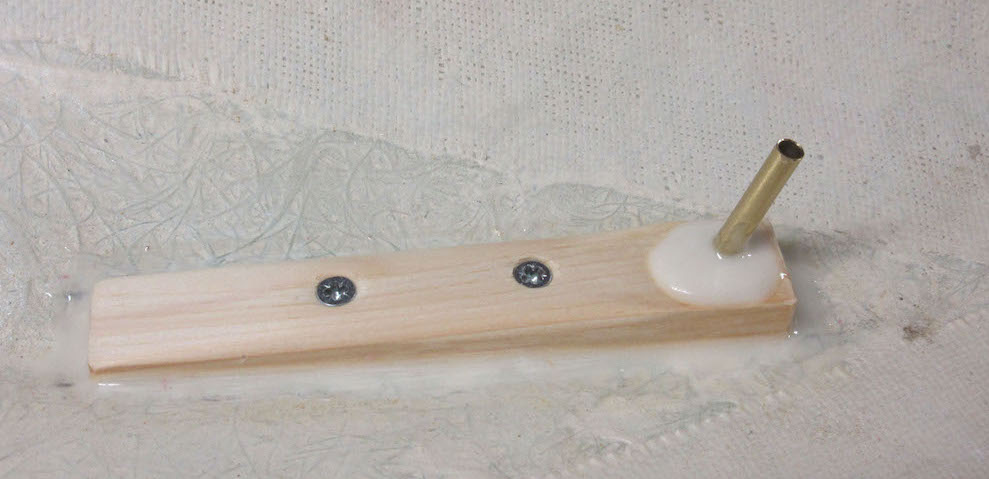
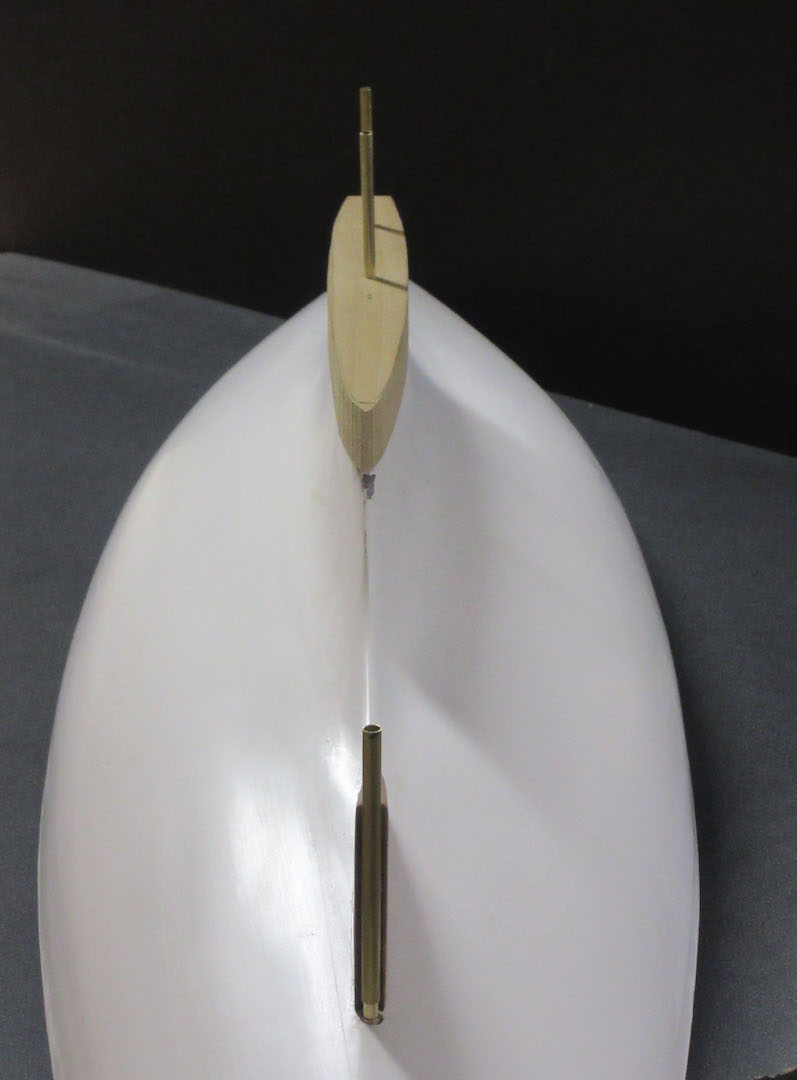
Epoxy a 3/16-in brass tube in place, leaving a couple of inches protruding both inside the hull and outside. Add thickened epoxy inside the hull to secure the rudder tube to the wood.
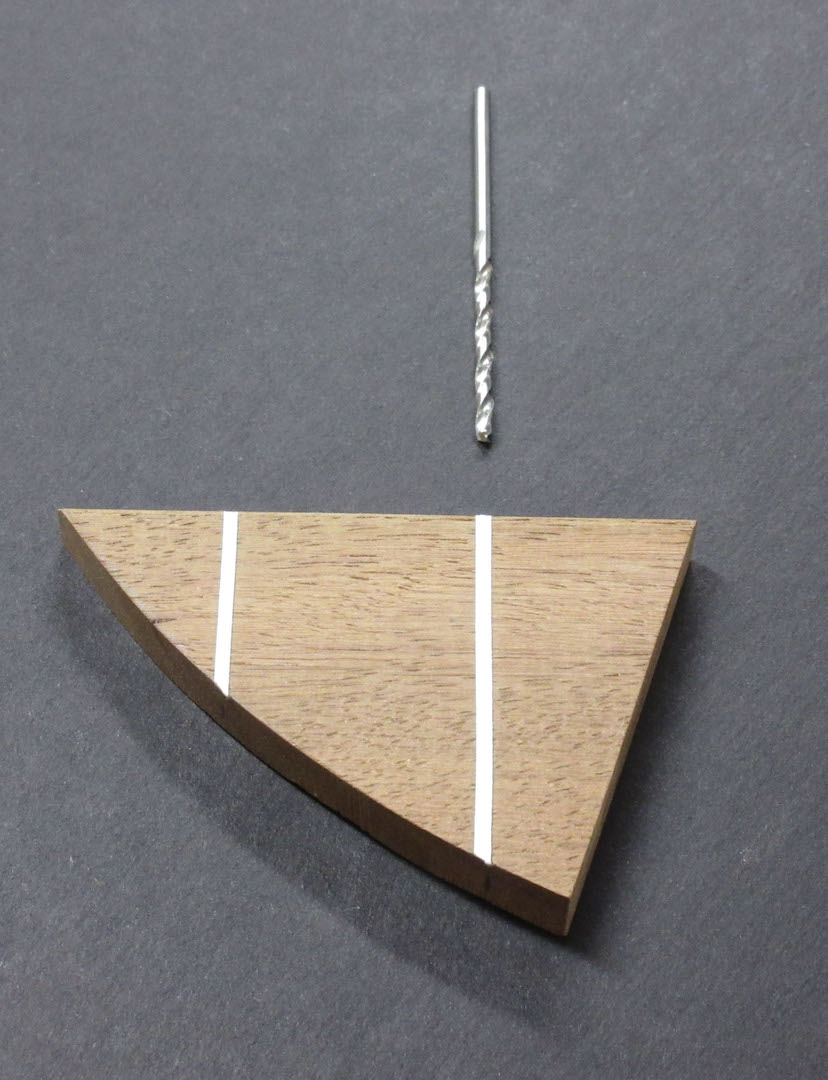
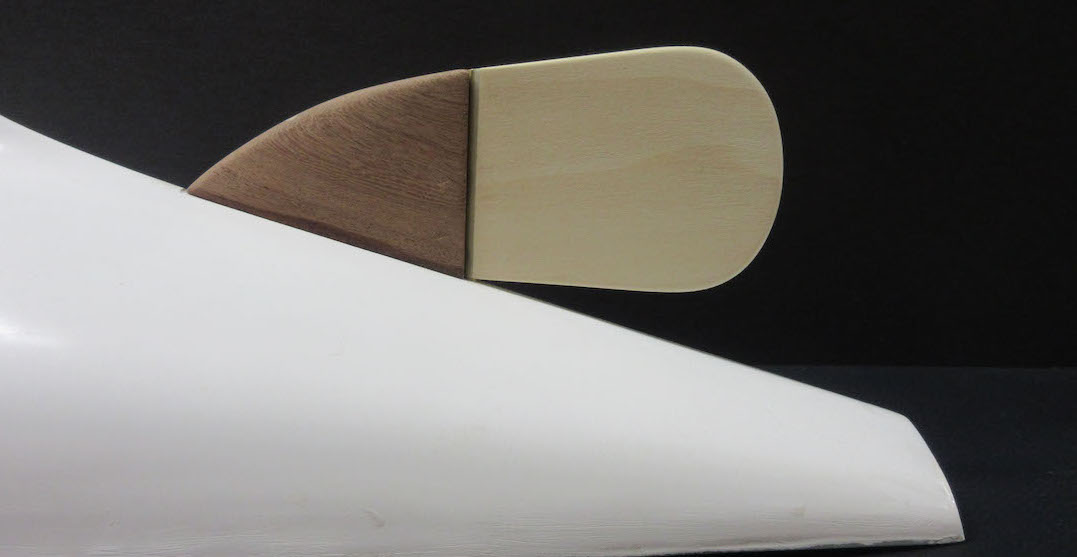
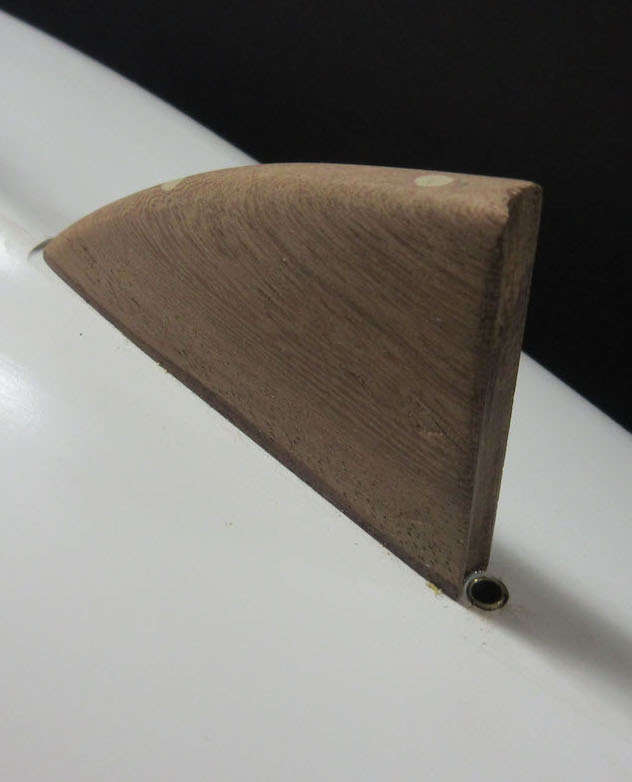
Cut the skeg to shape from a piece of 3⁄8-in hardwood so that it fits snugly between the hull and the rudder tube. The Chico hull has a slight bulge where the skeg is located so the underside of the skeg must be hollowed out to match the shape of the bulge. Now carve and file a 1⁄4-in diameter semicircular groove in the back of the skeg where it meets the rudder tube. Put the skeg in the drill press vise with the base horizontal and facing up, and drill two 3/32-in holes all the way through the skeg, on the centerline.
The picture to the left shows where to drill the holes. Wrap four or five layers of blue masking tape around the front of the rudder tube. This provides the clearance needed for the rudder to rotate. Draw a centerline along the hull at the front of the skeg.
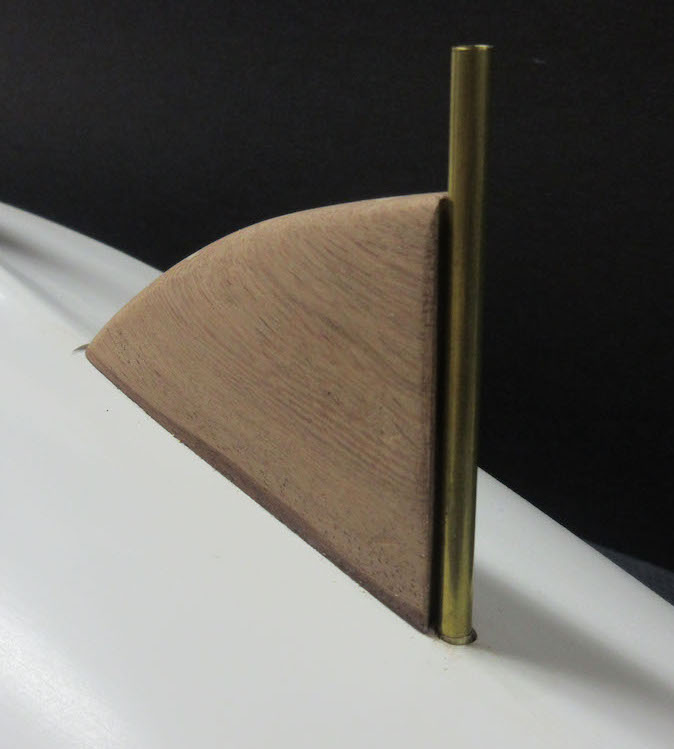
Now position the skeg up against the taped rudder post and tape it to the post, making sure that the front of the skeg is on the centerline of the hull. Hold the skeg firmly in place and drill down the two previously drilled 3/32-in holes with a hand drill through the fiberglass and through the wood block inside the hull.
You will need an extension drill to do this. (If you don’t have an extension drill (jobber-length bit), workaround would be to cut the skeg in half horizontally, follow the steps above, and then glue the skeg back together.) Open up the holes through the wood block and the fiberglass to accept small-diameter screws that are long enough to secure the skeg to the hull. Remove the tape from the rudder post and screw the skeg to the hull.
If the skeg doesn’t line up perfectly with the rudder tube, file either the base of the skeg or the fiberglass hull until it does.
This may take several attempts. When the fit is satisfactory, cut the rudder tube where it exits the fiberglass, making sure that the cut is perpendicular to the tube. Taper the skeg toward the leading edge, fill the two holes with wood filler, sand it smooth, and epoxy and screw it to the hull.
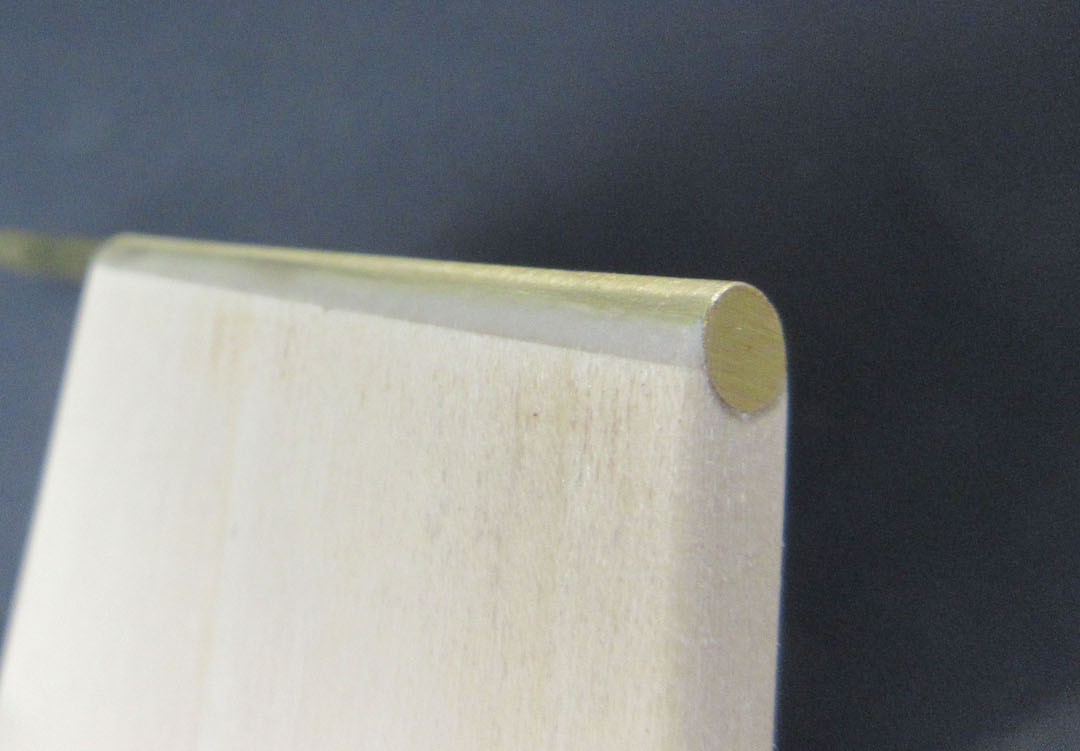
The rudder is next and is a lot easier. Cut the shape from a piece of 1⁄4-in thick hardwood. Carve and file a 3/16-in diameter semicircular groove into the leading edge, and epoxy a 3/16-in brass tube into the groove. Use thickened epoxy to make a fillet between the tube and the end of the wood.
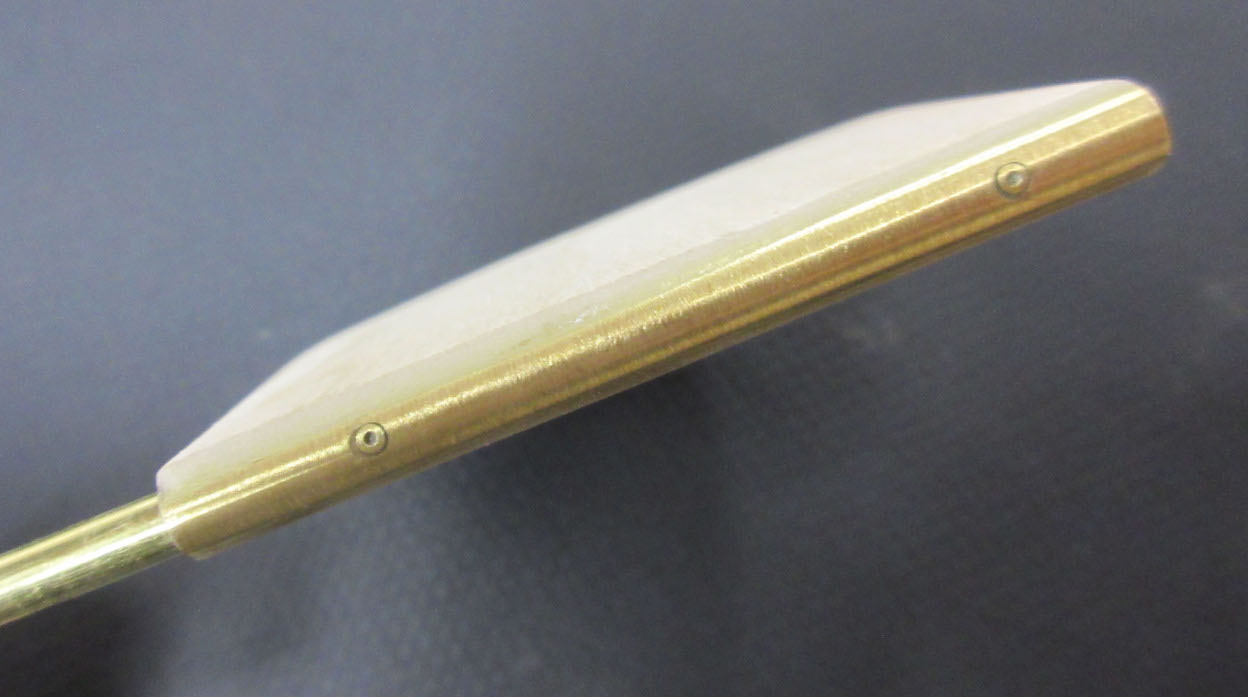
Cut a length of 5/32-in brass rod for the rudder post and epoxy it into the 3/16-in tube. The next step is not mandatory, but I epoxied two 1/16-in brass pins through the brass and into the wood for added strength.
Taper the rudder toward the back to about a 1⁄8-in thickness and sand the leading edge to a nice smooth radius.
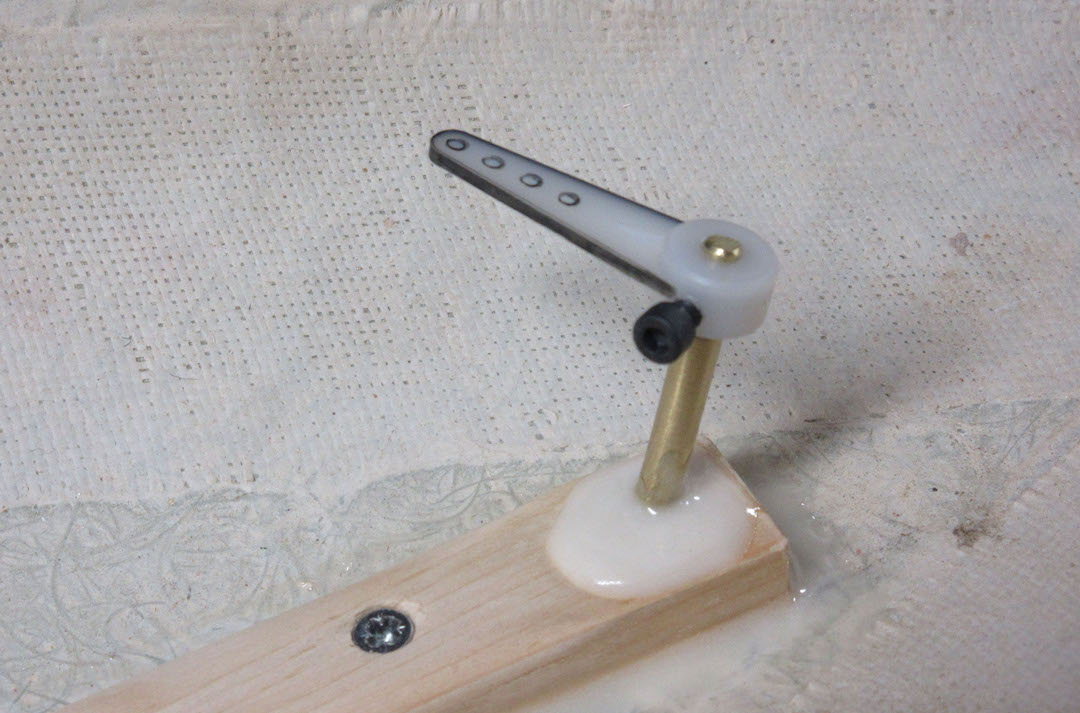
Cut the rudder tube inside the hull to the correct length and cut the rudder post so that it extends about 3⁄8 in above the rudder tube. I file a flat on the forward side of the rudder post so that the rudder arm lines up correctly when the set screw is tightened. I use a Dubro #155 Steering Arm (5/32 in) from Tower Hobbies.