Article by TMY Editorial Staff. Photos by John Stoudt.
You can make this “Tee” out of flat brass stock in any length, within the constraints of your equipment. These Tees can be used for making a shroud rack [R52], mast step [R41], mast crane [R38], backstay bracket [R02], and other fittings.
Tools
- Aviation shears (snips)
- Bench vise brake attachment (bending tool)
- Hand seamer
- Miniature soldering torch (micro torch)
- Ruler
- Small metal clamps or spring-loaded tweezers
- Small ball peen hammer
- Soft face hammer
Materials
- Stay-Brite soldering kit (solder and flux)
- K & S Engineering brass strip #8247 (.032-inch x ¾-inch x 12-inch)
Making the Tees
- Determine how long of a piece you would like to make. It cannot be any longer than the jaw of your bending tool.
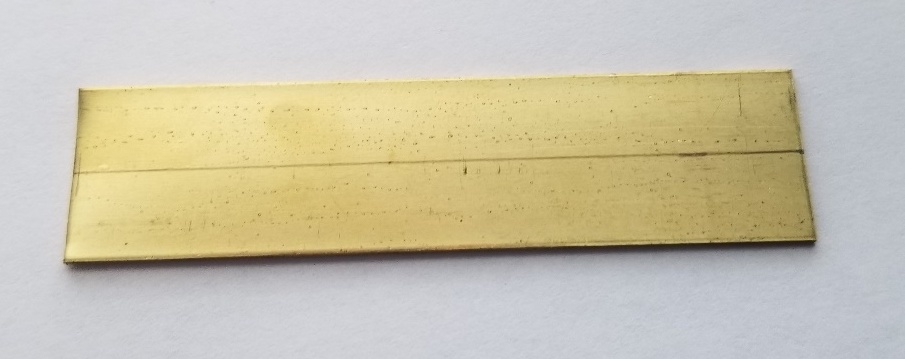
- Cut two pieces of the ¾-inch wide brass strip to that length.
- Place a pencil mark down the center of each piece.
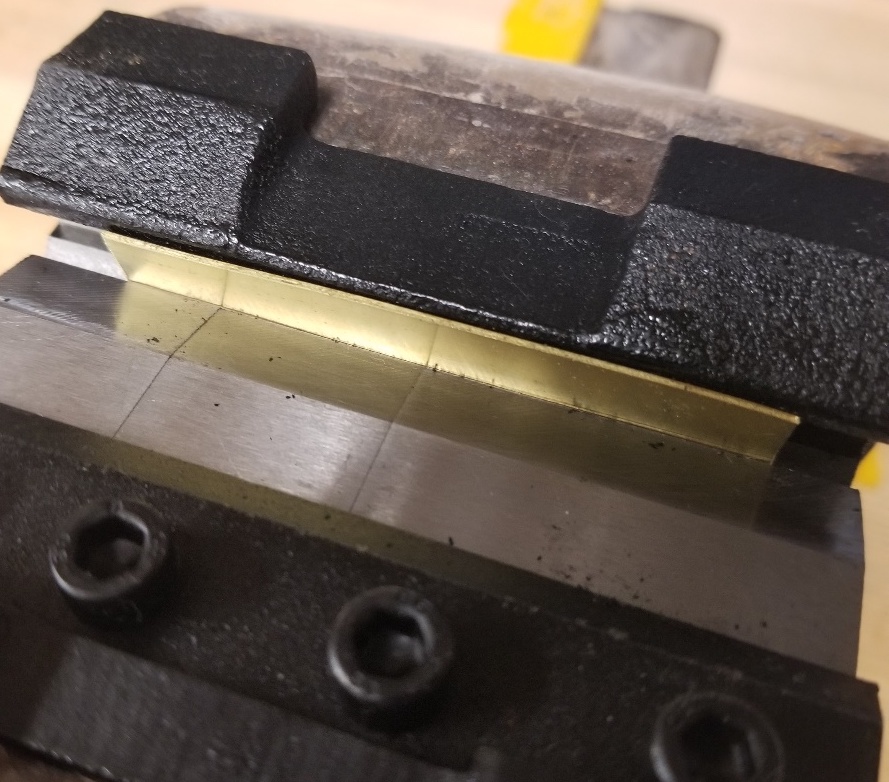
- Attach the bending tool to your vise. It comes with magnet faces and attaches and aligns very easily.
- Place one piece of brass in the bending tool. You can align the brass by holding it in place with the fingers of one hand above and below the fixture. The ¾-inch strip just fits in the fixture without overhang.
- Using the handle on the vise, turn it until the brass bends to 90 degrees.
- Repeat the process with the second piece of brass.
- Place the pieces of metal together in the shape of a “Tee”. Check to see that the seam is tight. If not, place both pieces together in the hand seamer and squeeze the handles of the hand seamer. Check the shape. You may have to use the ball peen hammer on the top of the pieces, hitting them at the same time to get a tight joint between the two “L” shapes. You can reverse the edges in the hand seamer and repeat to straighten the other sides.
- Now place the assembly into small metal clamps or spring-loaded tweezers. Make sure the pieces line up and are tight and straight along the bent edges. Don’t worry if the legs (the edges away from the bent edges) do not line up quite right now. This can be cleaned up later. You may have to use more than on clamp/tweezers.
- Take the assembly apart and apply the StayBrite flux to both mating faces and re-clamp for soldering. Be careful applying the flux; be neat. If you are sloppy with the flux, the solder will run into all of the areas where the flux cleaned the metal.
- Insert the end of the clamping device into a vise or secure it in some other way. Check the alignment.
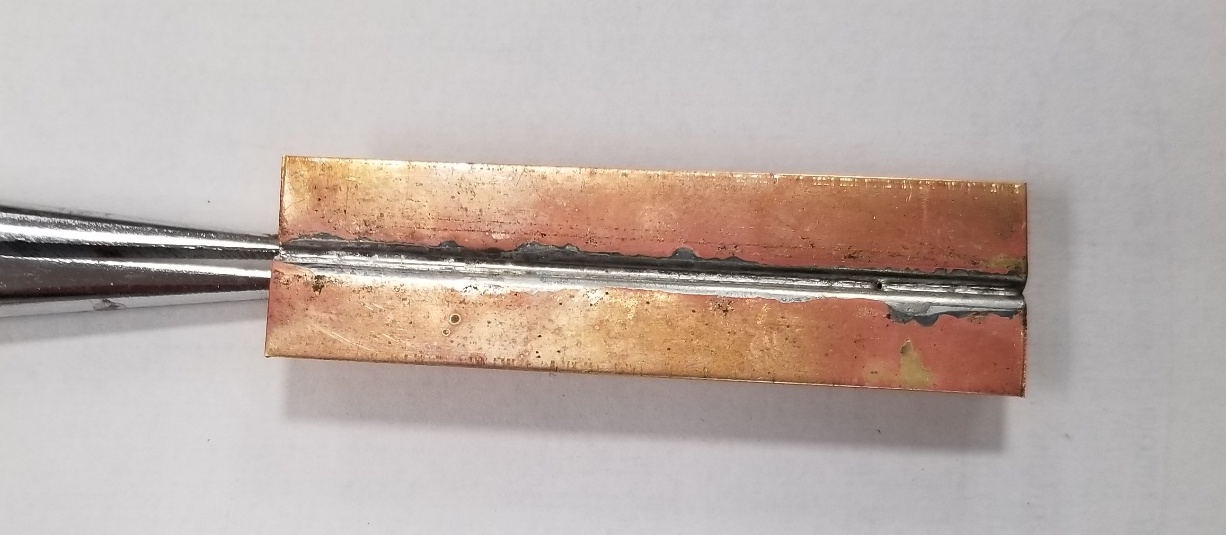
- Cut two pieces of the hard solder that comes in the StayBrite package the same length as the seam to be soldered. Straighten these out.
- Carefully place them on the top of the seam. (see the photo)
- Using the micro torch, heat the brass from below with a sweeping motion. This will heat the brass up evenly. Once the brass is up to, temperature the brass will flow into the joint. You do not need to apply the heat on the solder. You are sweating it into the joint. Capillary action will do the work for you.
- As soon as the flux “drops” into the joint, remove the heat and blow on the seam until the solder turns dull. The dull appearance means that the solder has hardened.
- Carefully carry the assembly to a sink in the clamp and run it under cold water. This cools down the assembly and removes most of the deposit from the part.
- If the pieces of the leg are uneven, the top outside edges will not be parallel as well. You can easily correct this by sanding the edges on a longboard. It will clean up nicely when you layout, cut, sand, and polish your part.
- You now have one tee shape.

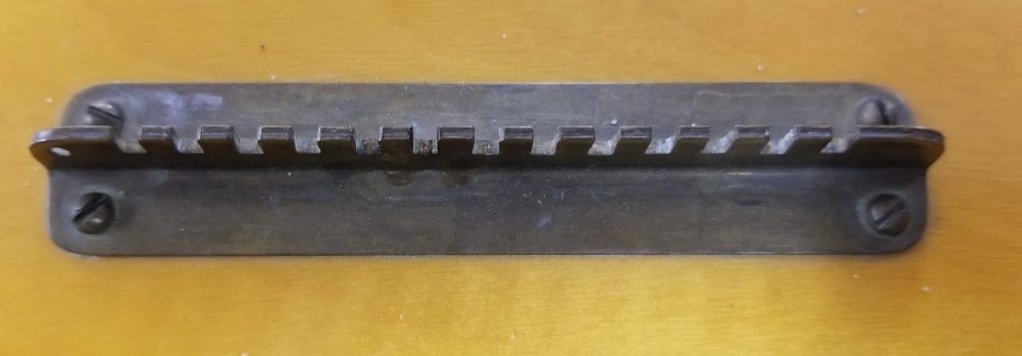
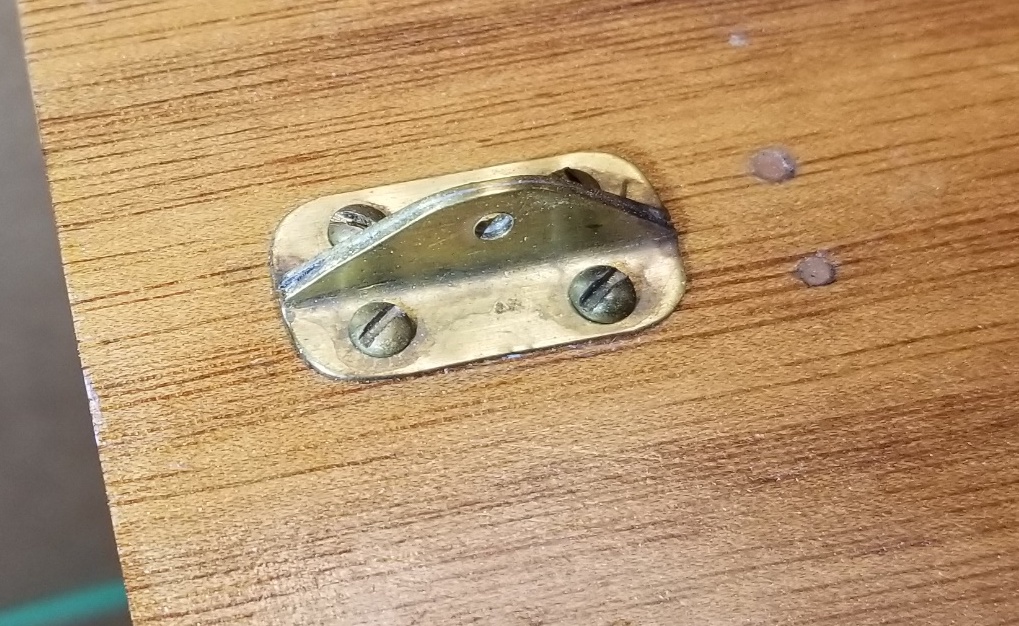
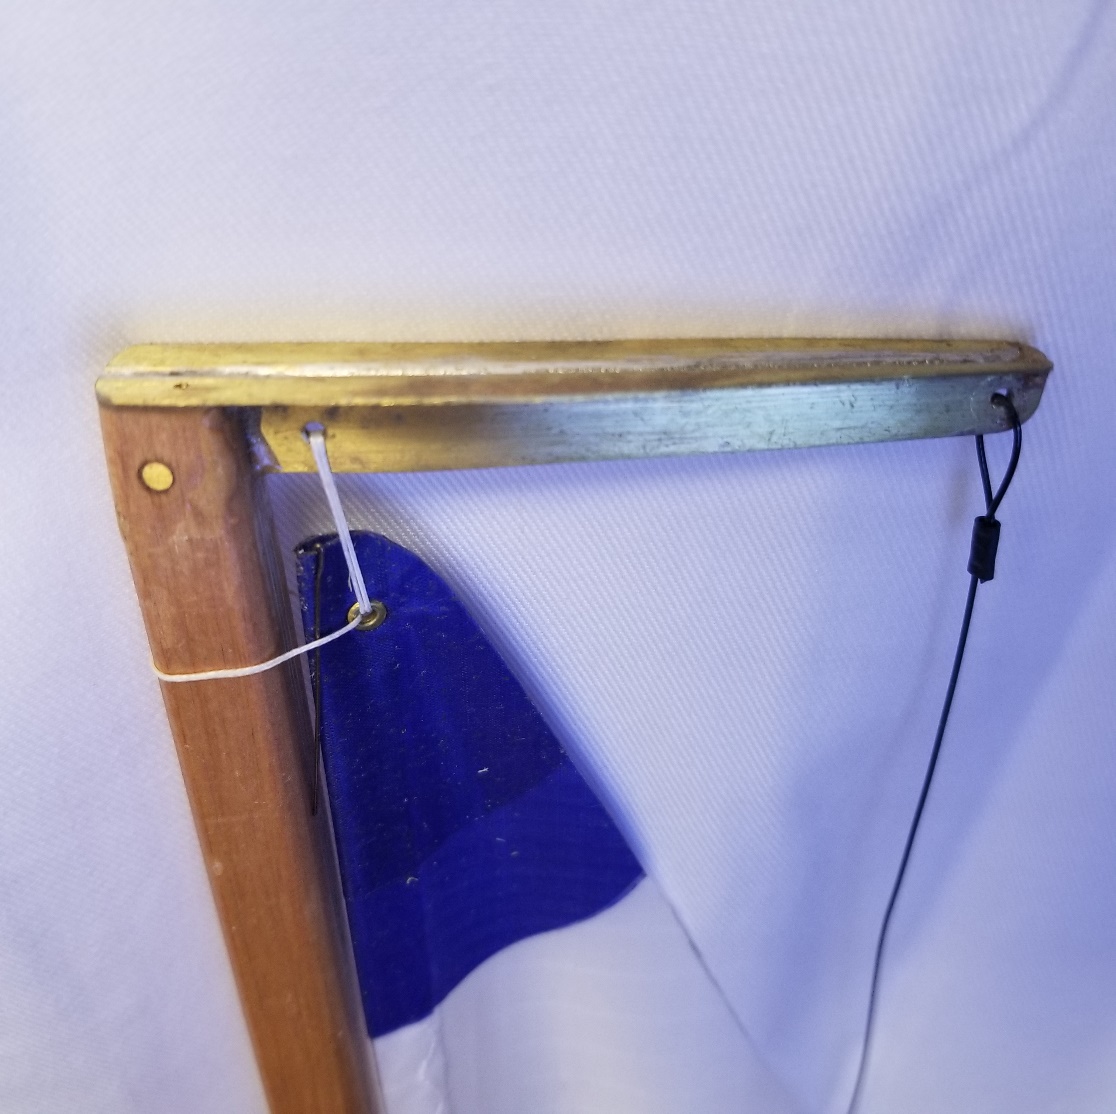
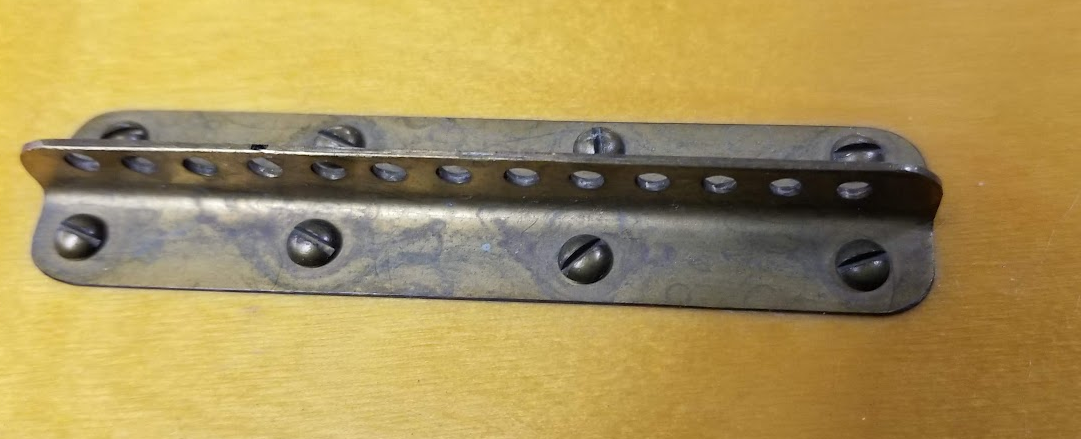
Make as many of these as you need to for the various parts you want for your boat. You can cut and shape these into your parts. See the examples.