Article and photographs by TMY Staff
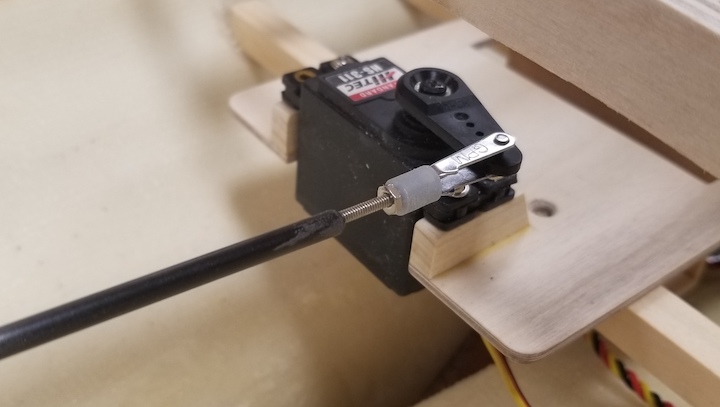
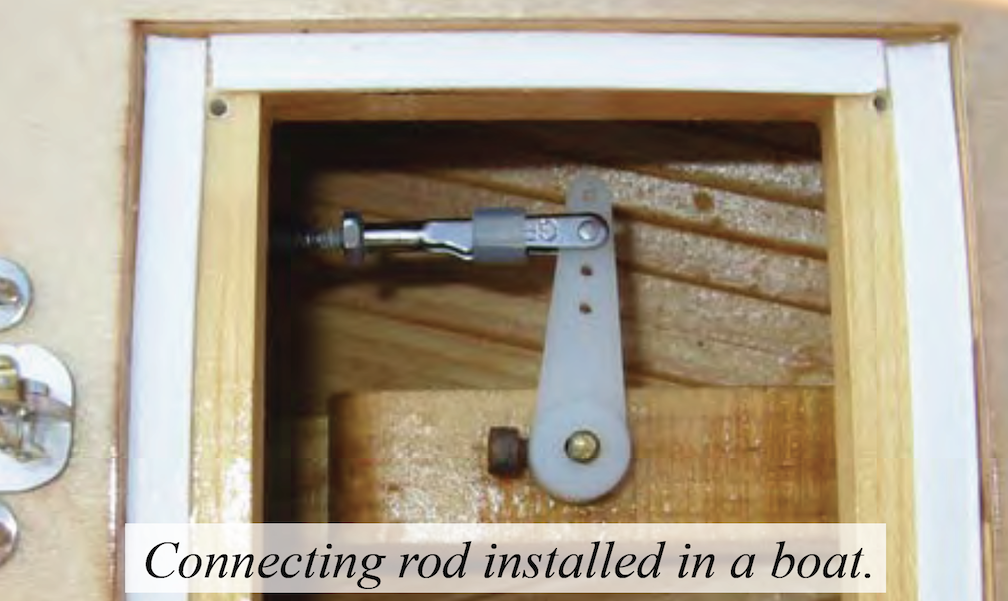
Many connecting rod arrangements have been tried over the years, and the one described here is the lightest and strongest. It uses readily available materials. The connecting rod connects the control arm on the rudder servo to the steering control arm on the rudder shaft.
Materials
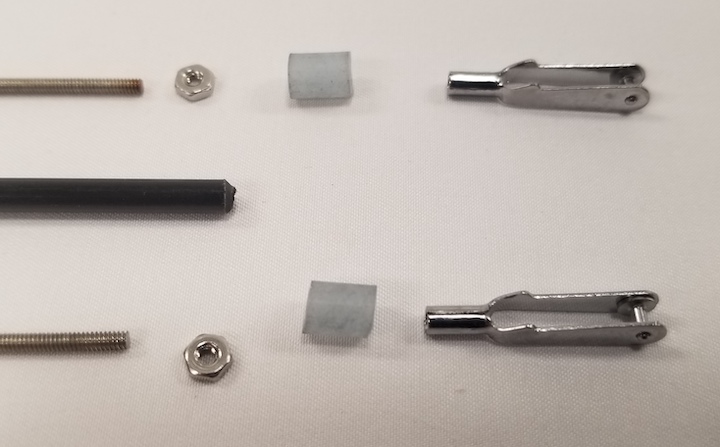
- One length of 0.157-in carbon fiber tubing (kite store)
- One 12-in, 2-56 stainless all-thread
- Two Du-Bro, Sullivan, or Great Planes 2-56 clevis
- Two rubber clevis keepers (usually comes with the clevis)
- Two 2-56 stainless nuts
- 2-part epoxy
- All of these parts can be acquired online from Amazon, other sources, or as noted.
Tools
- Small hacksaw
- Small fine files and abrasive paper
Procedure
- Cut 2 pieces of the 2-56 all-thread 3 inches in length.
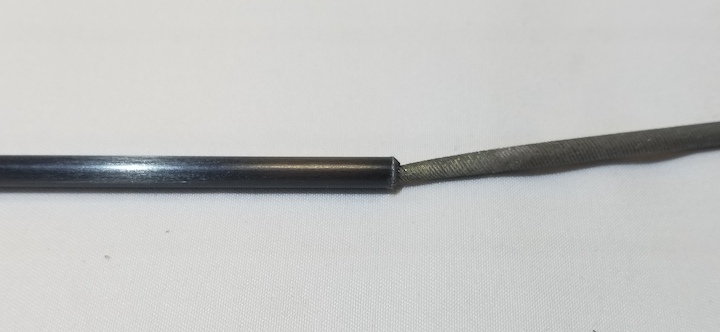
- Cut a piece of the carbon fiber 3 in shorter than dimension between the centers of the rudder servo and the rudder itself. Smooth the ends to remove the roughness and loose carbon fibers.
- Rough up the inside of the tube with a jeweler’s rat tail file. Use the point and file edge to accomplish this.
Prepare to insert the all-thread into both ends at the same time. - Wrap a piece of masking tape so one edge of the tape is 2 in from one end.
- Mix up a small batch of thickened 1-h epoxy and work some into the tubing. Use a toothpick to get the epoxy as far as possible into the end of the tubing.
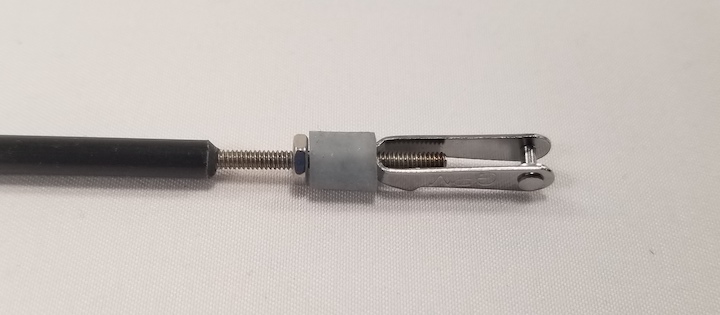
NOTE: You can use saw dust or flour as if you do not have microballoons. - Apply a small amount of epoxy to the long end of the all-thread. Now slide the all-thread into the tubing until you reach the tape. Wipe off the access epoxy.
- Repeat with the other piece of all-thread on the other end of the tubing.
- You can now assemble the rudder connecting installation.