Article and photos by John Stoudt
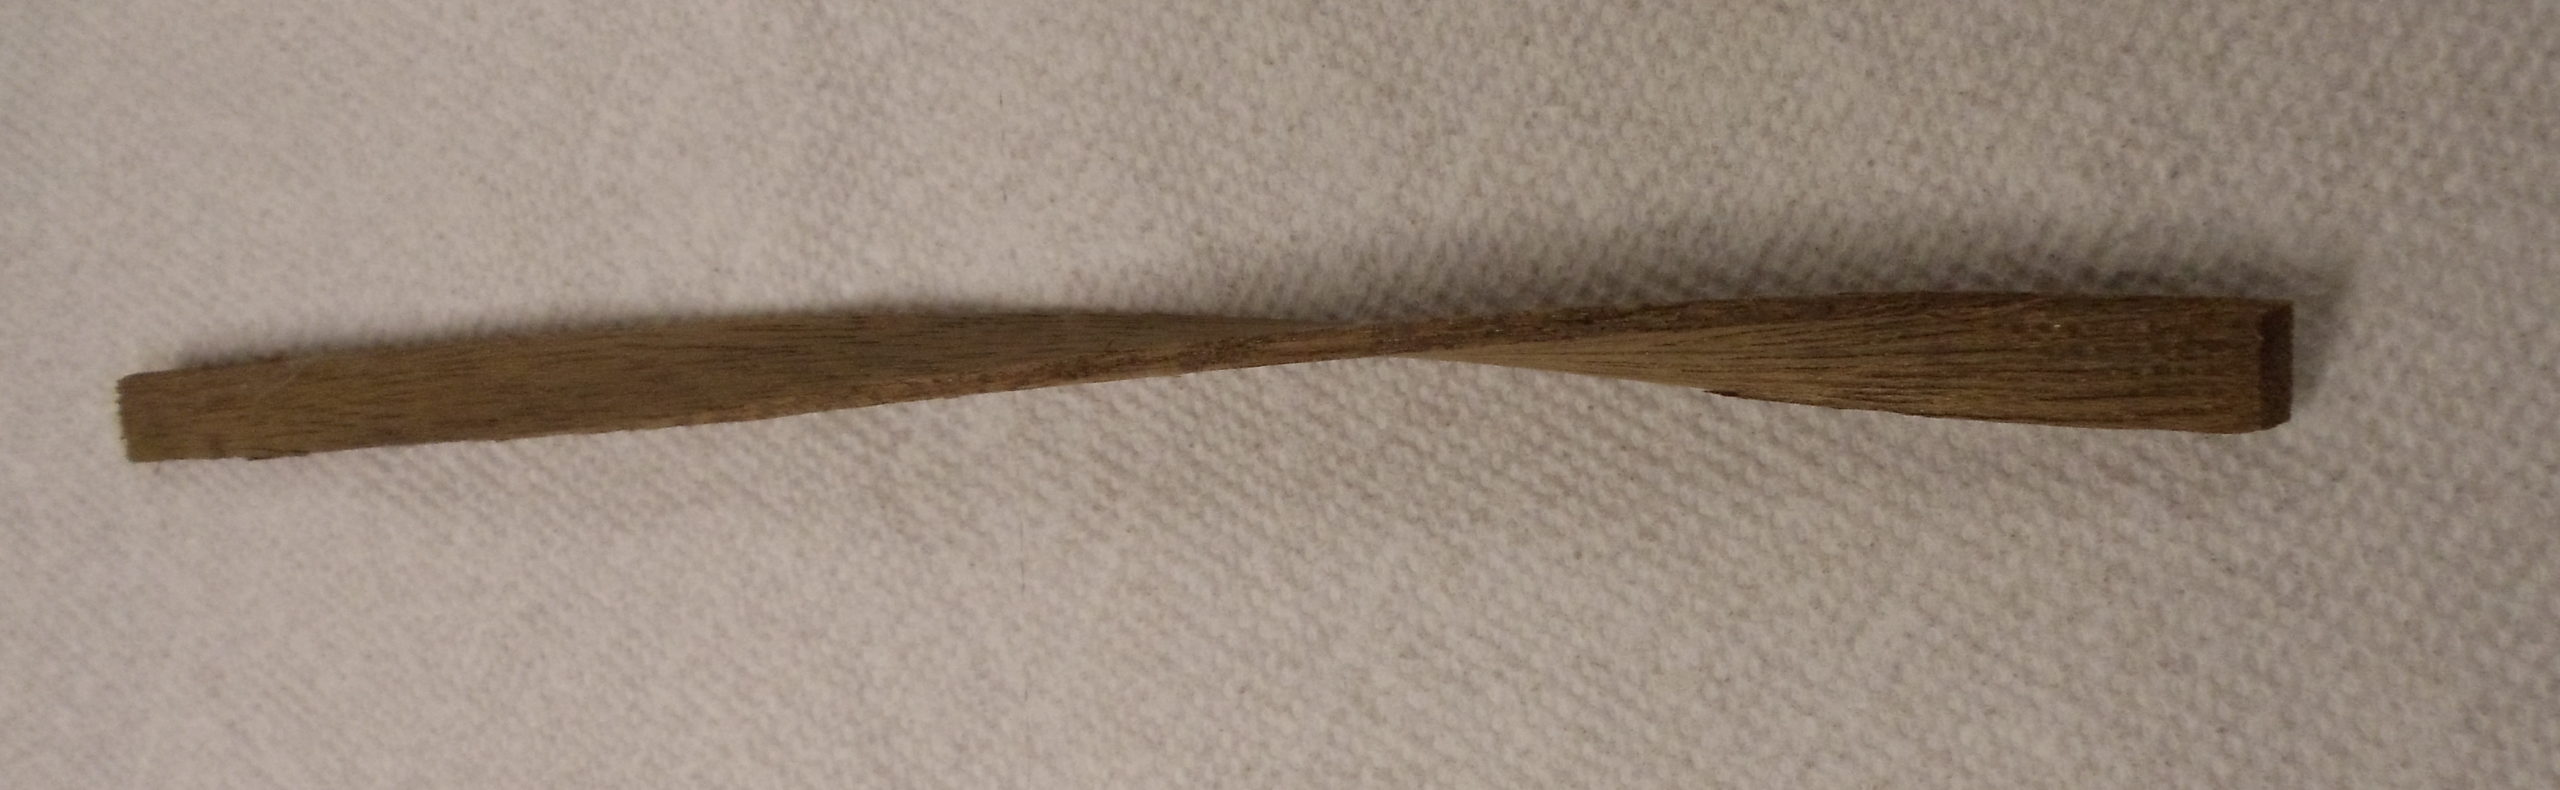
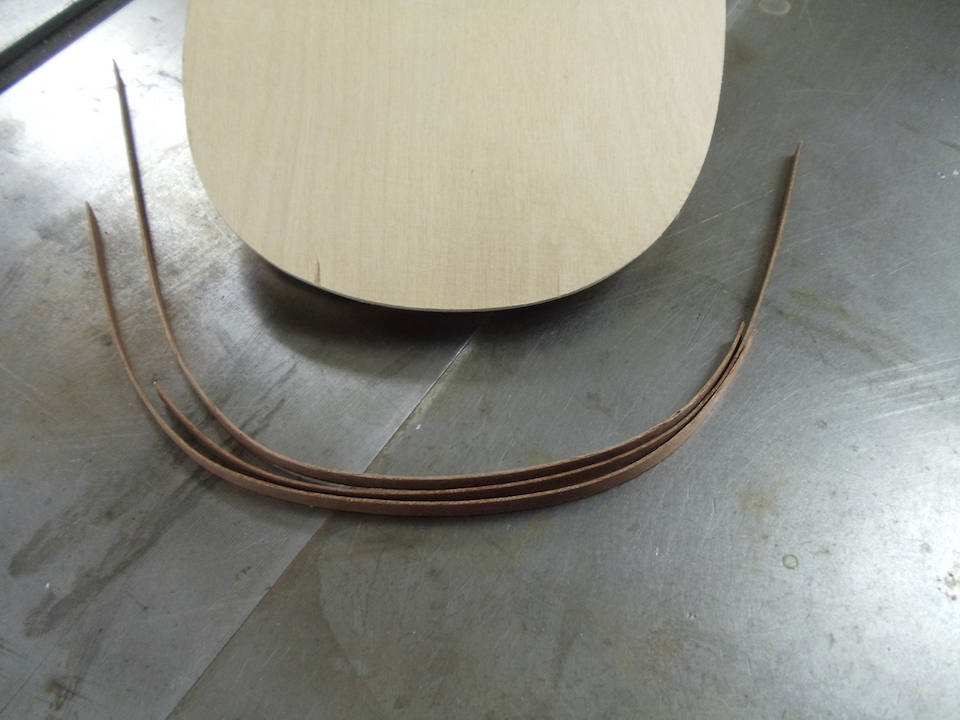
I have been building and restoring model yachts for some time and am always looking for new or improved techniques to use during the building process. When I saw the description for Steve Roger’s static model building course in the 2017 WoodenBoat School catalog, a photograph on that page piqued my interest. He was bending wood, some pieces with very extreme bends (Fig. 1). He also had Kennedy’s favorite sail boat plans (Wianno Senior) available for use. I have a personal goal to build the presidents’ sailboats in remote control: a story for another day.
So, I wanted to learn more about this process of bending wood using ammonia and get my hands on those plans. I took Steve’s class. What an eye opener! He bends wood—some of the most unlikely species, such as poplar—by soaking the wood in aqueous ammonia. As a long time woodworker I was thinking poplar is a wood that is not very forgiving when you try and bend it. Wrong!
Steve’s process of making static models involves a premade wooden mold of the boat to be modeled, that is roughly 1⁄2 in smaller than the final outside hull dimensions. The “soaked” frame members get tacked to the mold while wet with push pins. Some of these pieces pull very extreme curves with very little damage to the wood fibers. Once these frame members have dried, the planks are attached. The push pins are removed as the planks are fastened to the frame members.

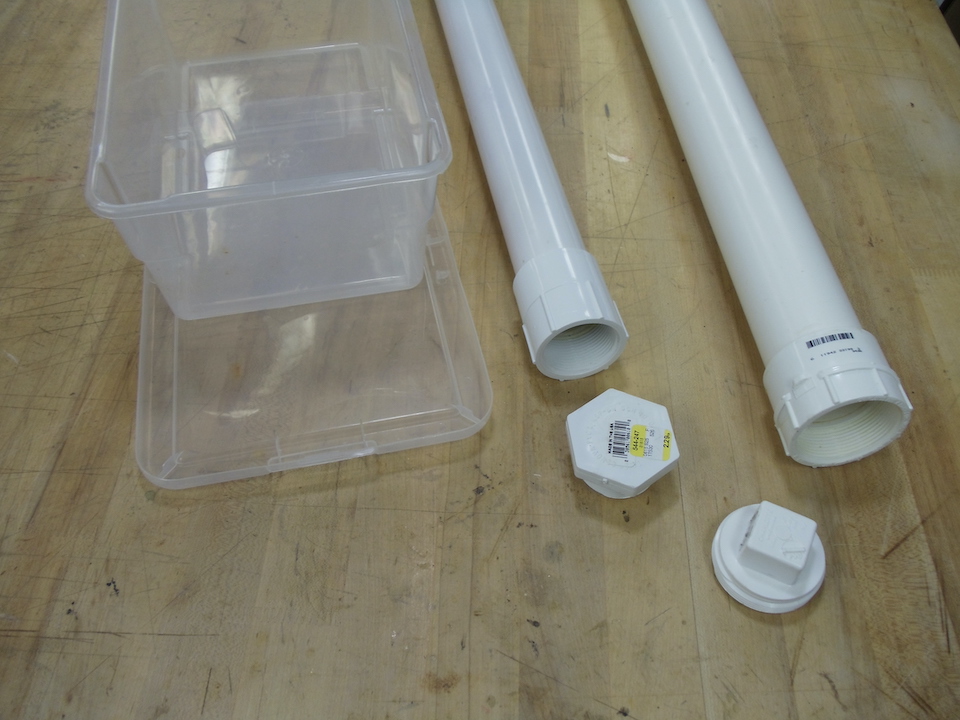
The process begins by cutting the wood into the sizes intended for use in your model. These pieces of wood are rather small in cross section (1/8 by 1⁄4 in, 5/32 by 5/16 in, etc). The pieces are soaked (Steve calls it “cooking the wood”) over night; actually 24 hours gives the best result. The liquid ammonia and wood get placed in a container that can be sealed to control odors, such as a Schedule 40 PVC pipe container with a fixed cap on one end and a screw on cap on the other.
I am used to bending wood such as ash using a steam bending process. This usually results in some failure but overall success in large projects like toboggans. I know others place small cross-sectional pieces of wood such as mahogany veneer in boiling water with some success.
I wanted to know what the ammonia does to the wood. So I did some research, finding that there are individuals who are using pressure to impregnate the cells of the wood fibers with ammonia gas. This process plasticizes the cellulose fibers of the wood making the piece very flexible; it is generally used for larger pieces. This allows for some pretty amazing results, but the apparatus used is quite elaborate, unlike Steve’s process, which is very simple.
How is this done? First you need to make or acquire containers that are airtight.
I made a couple of different pipe containers and used a plastic shoe box I had laying around, for various lengths and sizes of wood. All three of these containers worked for their intended purpose (Fig. 2). They contained the odors until the wood was removed for bending. These pipe containers can be made to any diameter and length that meet your needs.
How do you get the wood to hold its shape until it dries? You make molds (forms) that enable you to clamp the wood in its final shape until it dries (Fig. 3). I made these from 3⁄4-in MDF, cut and sanded into the final shape of the workpiece. There are 3⁄4-in holes drilled at strategic locations to enable the piece(s) to be clamped using small 6-in bar clamps. I cut a strip
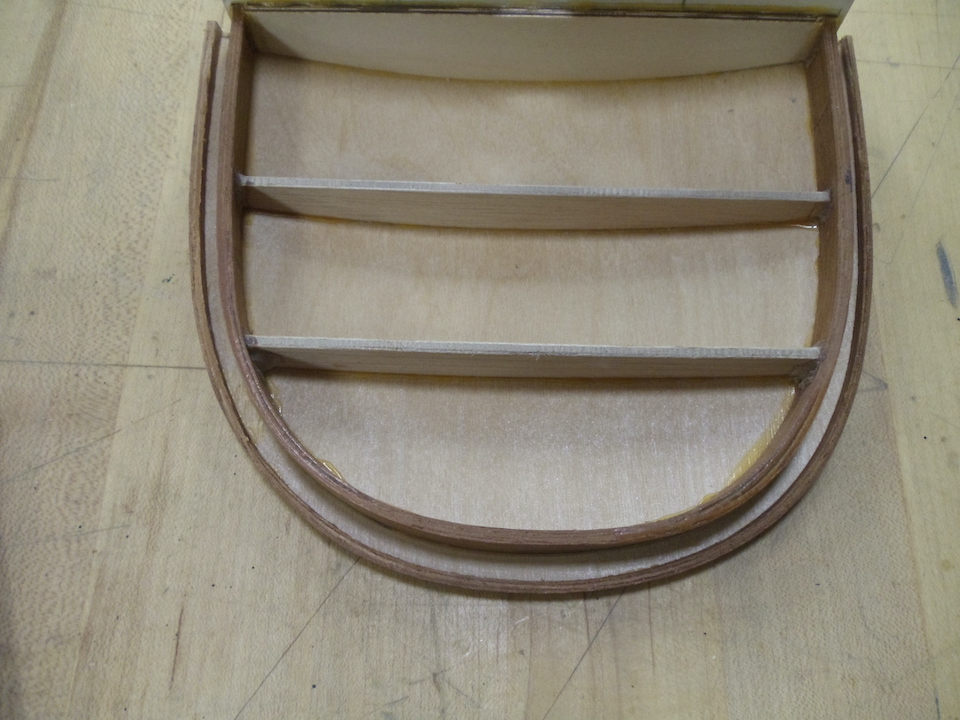
of 1 /1 6 by 1 -in aluminum to act as a control member to keep the pickled strips from breaking during the bending/drying process. I start clamping at the top of the mold and worked around and down both sides at the same time, adjusting the clamps a little at a time until the aluminum control piece and wood strips were tight against the mold. It takes the strips about a day to dry completely. When released, the pieces hold their shape well-enough for the intended use (Fig. 4). I often use mahogany veneer for these bent pieces. Gluing multiple pieces together I clamp them into the mold. I use Tite Bond II glue as the adhesive. These pieces come out looking like they are one piece of wood (Fig. 5). Due to the thinness of the veneer, the pieces pull curves very nicely, and there is usually no failure. The final shape is rather strong and can be sawn, filed, and sanded into final shape.