by Earl Boebert
I have always admired the look of diagonally-planked, cold molded wooden hulls, and intrigued by the idea that a wooden boat could come close to the strength to weight ratio of advanced composites.
When it came time to build a new free sail 36R for the US/UK Challenge Cup, I decided to give it a try. I had two starting points, an article by Ted Houk we published some time ago, and the experience of building my current strip-planked 36R. What follows is a tale of successive failures capped by a partial success, documented here because often the most valuable lessons are those which teach you what not to do.
First Try: Veneer/Veneer, Pinned
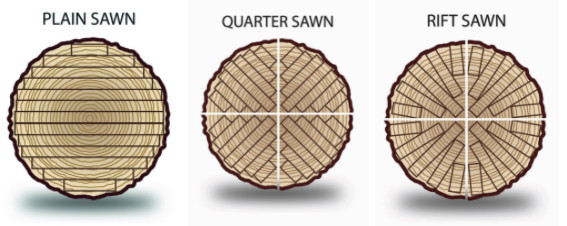
The first step in cold molding is to make the mold. I made mine from scraps of structural foam left over from making the Yankee III prototypes because I wanted it to be able to hold pins; as it turned out, blue insulating foam would have worked just as well. Not thinking, I made the form as if it was to be the plug for a fiberglass mold, just to the dimensions of the hull. I chose mahogany veneer and Titebond III glue, and proceeded to lay out a two-layer hull, with the inner layer wide and vertical and the outer layer diagonal planked. The first layer was steamed in a rice cooker before being laid on the mold.
Lessons Learned: Pins don’t hold thin veneer well. Steaming makes the wood flexible, but it shrinks when it dries, requiring it to be re- positioned before gluing. The mold has to support wood outside the dimensions of the hull.
Second Try: Veneer/Veneer, Clamped
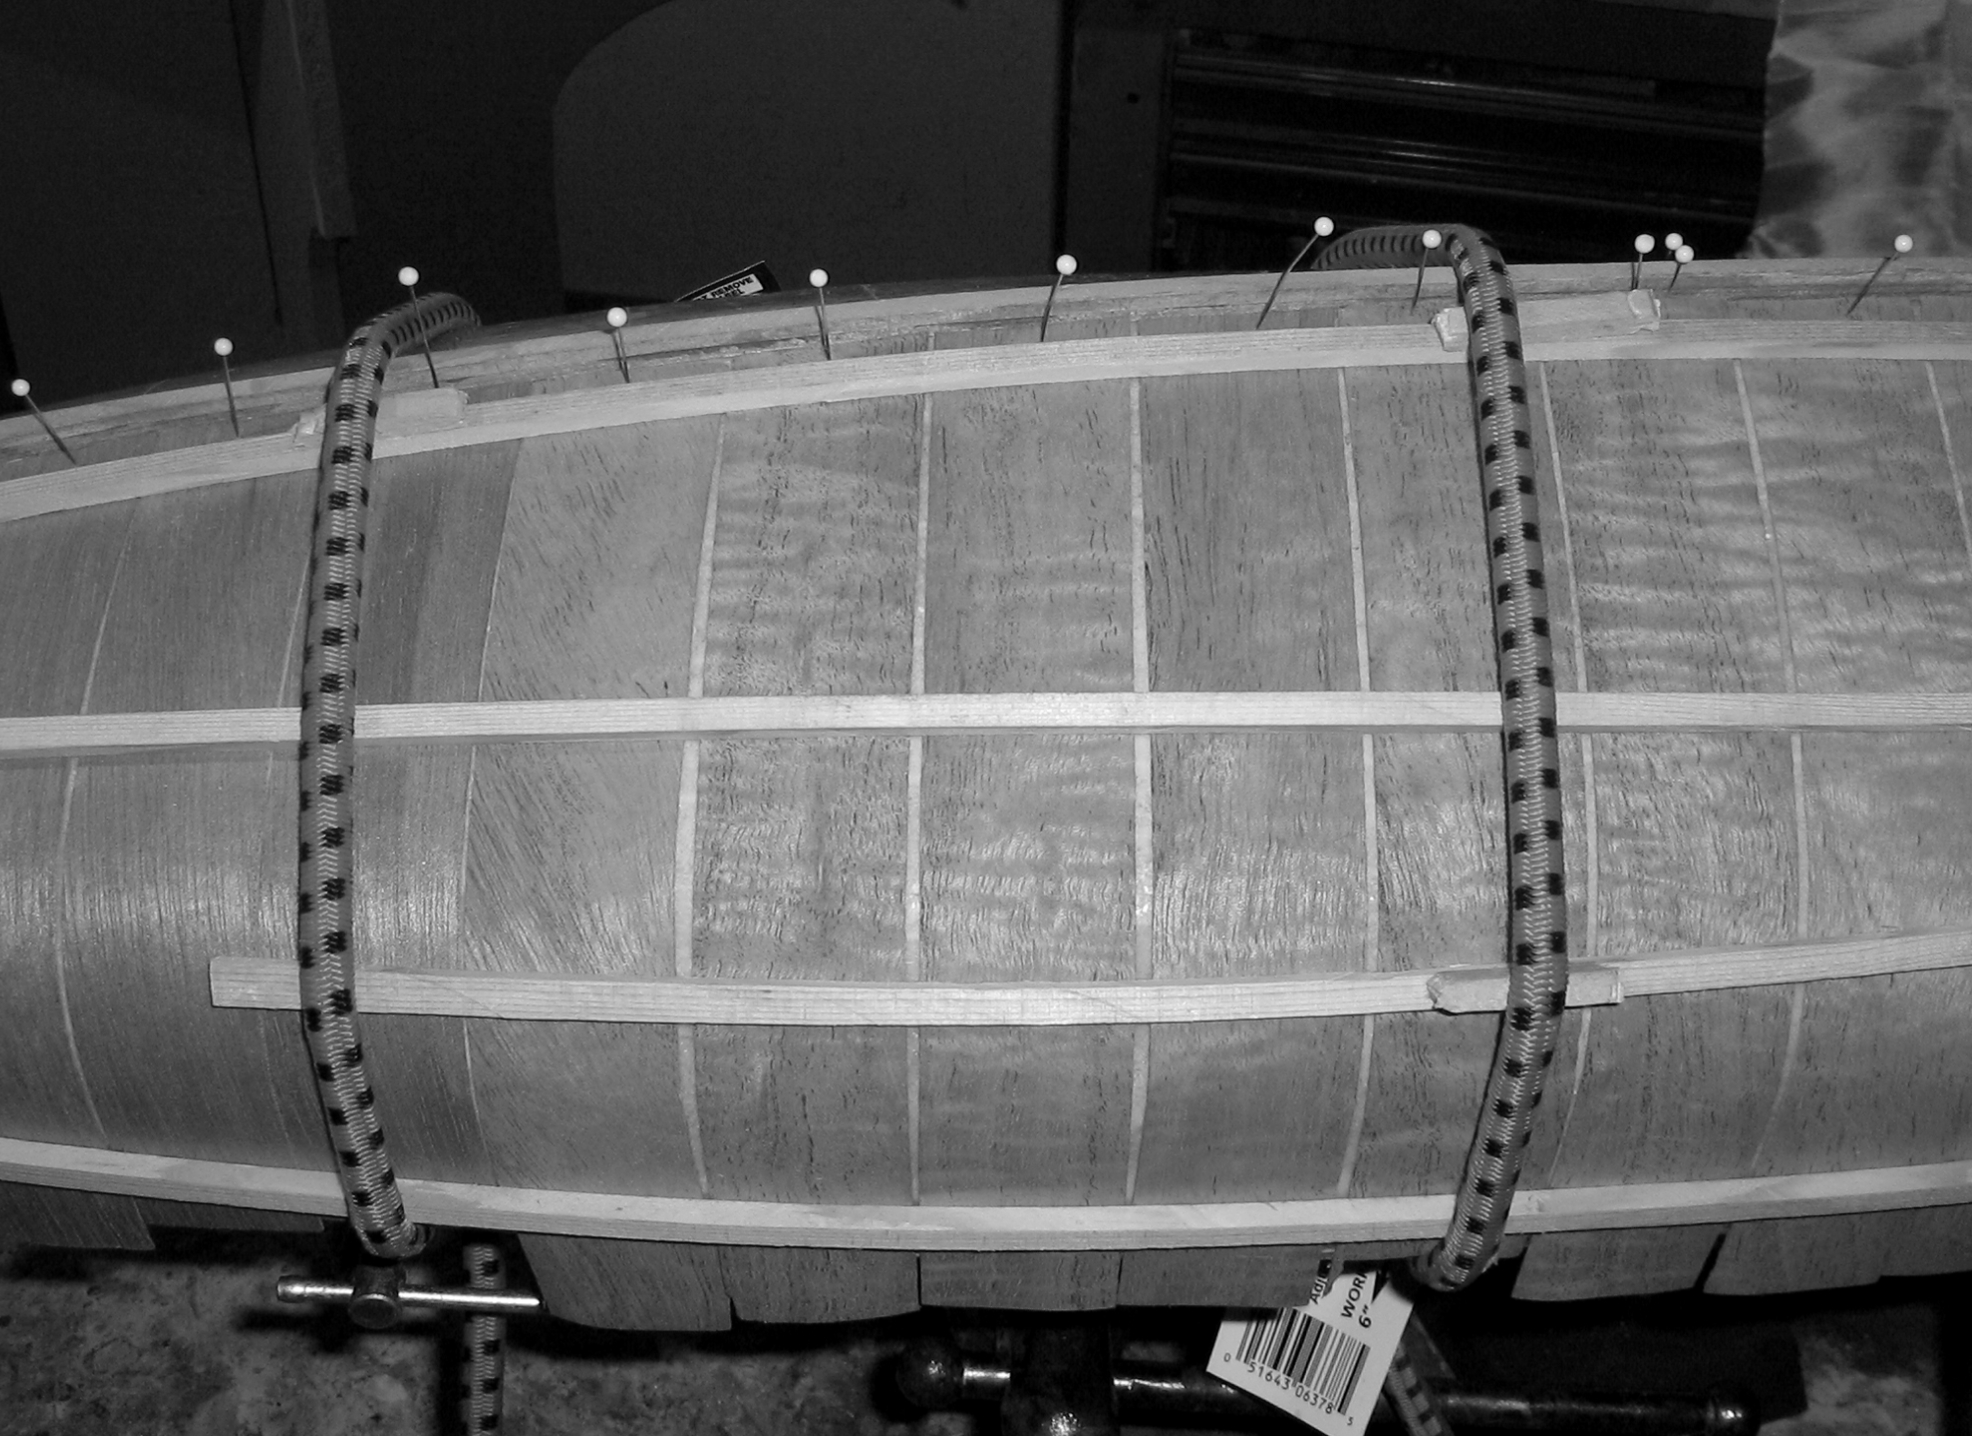
I built out the mold at the ends and the sheer, and came up with the idea of clamping the planks in place with 1⁄4 square spruce battens, tied down with adjustable bungee cords.
Lessons Learned: Clamping works well. Laying the second layer was extremely difficult owing the first layer moving around while laying the planks. The resulting shell was strong, but brittle.
Third Try: Glass/Veneer/Veneer
This time I shifted to epoxy as the adhesive and began with a layer of 3⁄4 oz. cloth to which the first veneer layer was epoxied to stabilize it. This hull was destroyed pulling it off the mold.
Lessons Learned: Laying the second layer “wet” is a slippery, frustrating business. Once the hull is planked it is too rigid to remove from the mold easily.
Fourth Try: Kevlar/Veneer/Glass
After considerable reflection, I decided to use Kevlar® for the inner layer, coating it with epoxy and laying the keelson on it. Kevlar is much stronger than fiberglass for a given weight and can be pulled down and taped over the mold without wrinkling. It absorbs more resin and is harder to “wet” than fiberglass, although I find the Aerospace Composite Product resin to work just fine. Kevlar “fuzzes up” when abraded and is therefore only suitable for inner layers.
After the epoxy set I pulled the Kevlar layer off the mold while the shell was still flexible. Then I “recharged” the parting material on the mold and taped the shell back down.
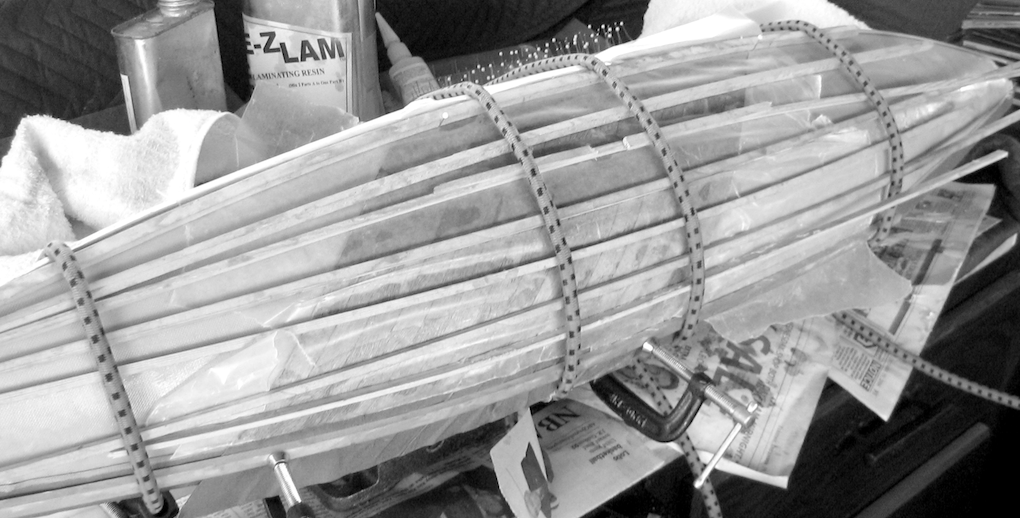
I also changed my planking technique, “dry planking” a course of 12 or so planks, pinning and clamping them in place and covering them with a layer of masking tape to form a kind of panel which was then epoxied and clamped as a unit. The masking tape adhesive provided an adequate barrier level to prevent adhesion of any epoxy that seeped through the cracks. After planking was completed the hull was sanded fair, filled with Microfill, finish sanded and covered with 5 oz fiberglass.
Lessons Learned: I didn’t pay enough attention to the fact that the optimum planking angle, that is, the angle at which the plank will lay flat to the curve, varies over the length of the hull. I tried to compensate for raised planks by using many battens and clamping hard. This was only partially successful, leading to spots which had to be filled. This did not appear to affect the strength at all but looks terrible.
Conclusions to Date
The Kevlar/veneer/glass sandwich is impressively strong and rigid, so much so that very little internal reinforcement is going to be needed. The shell weighs 10 1⁄2 oz, which, considering its 9 inch beam and 5 oz. glass outer layer, makes this technique competitive with other advanced methods.
The next set of experiments will use “peel and stick” veneer to avoid the need for the clamps. The results will be written up in the next issue of The Model Yacht.