- RIB and PLANK CONSTRUCTION Planking of yacht hulls is not so very difficult. The method, for Marbleheads of any size yacht, follows the system described here BY C.W. SYKES

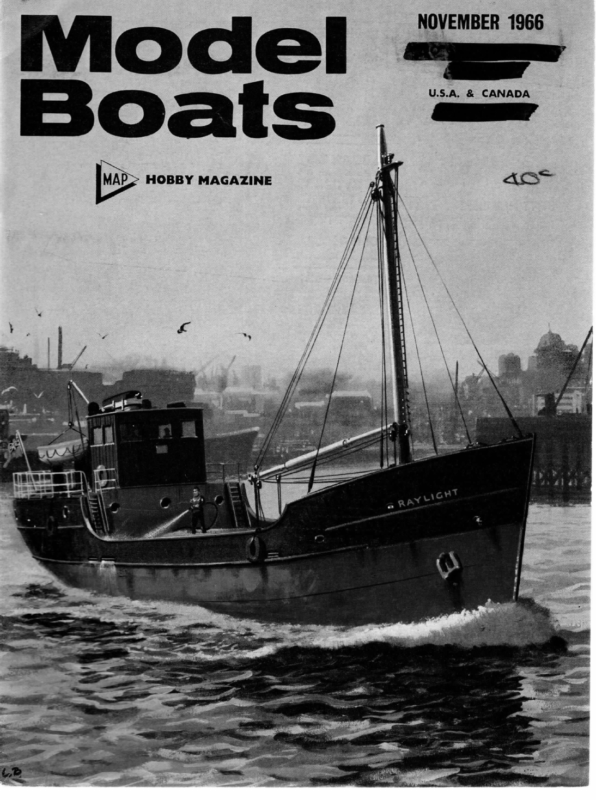
Vviode!l Boats NOVEMBER 1966 : HOBBY MAGAZINE Saore rapeat naan?
MODEL BOATS RIB and PLANK CONSTRUCTION Planking of yacht hulls is not so very difficult. The method, for Marbleheads of any size yacht, follows the system described here important that this board be well seasoned, and absolutely flat and straight. Fig. 2 shows the next stage, in which the shadows BY C. W. SYKES are mounted on the building board at correct centres, [TURING the past few years I have made several yachts and each time I have chosen rib and plank construction. A great deal of pleasure can be obtained in building a boat in this manner, and the following notes detail how I go about it when building Marbleheads. In passing, I should mention that initially I obtained most of my information from the book Boat Modelling by Vic Smeed and to most beginners this will be a necessity and most helpful. After having decided on which boat to build—in this case the latest Witty M, Golden Archer—the drawings should be obtained together with a supply of greaseproof paper, which is used for tracing. The first job is to trace off the separate hull sections from the body plan and transfer them to 3s or 4 in, ply to make the “shadows”. Trace one section at a time, making allowance for the thickness of the rib and planking; fold the paper accurately on the centre line and transfer the drawn half to produce a complete section, then transfer the section on to the ply. The first shadow and the transom are 3 in. resin-bonded ply and remain in place in the finished hull, but all others are ultimately removed. Fig. 1 shows the marked-out shadows ready for cutting out. The next step is to obtain a suitable building board approximately 5 ft. long, 6 in. wide, and 1 in. thick, which must be reinforced on the underside by screwing on an additional piece of timber. It is 454
NOVEMBER 1966 held in place by lengths of + in. square timber and screws, Great care should be taken to ensure that everything is lined up correctly and square. Well-seasoned timber such as mahogany, cedar, or yellow pine is required for planking, and old furniture is a useful source of supply. I was fortun- ate in locating some at an old wheelwright. A small circular saw is a very useful asset, and I use one mounted between centres of a small centre lathe. For a Marblehead a plank } in. wide is vormal, approximately sz to zs in, thick, so that by the time it has been shaped into the hull form the final thickness is $ in. Failing one’s own saw, it is usually possible to find a small joinery, etc., which will cut and “thickness” the wood for a small sum, especially if its purpose is explained. The backbone of the hull can either be laminated from four + in. planks, the correct curve being taken from the plan, or cut from solid wood if a band saw (or bow saw) is available. This is then mounted in Left, Fig 1. Marking out is naturally with fine, accurate lines, only just visible in the picture. Above. Fig. 2, various views of the shadows mounted on the building board and the inwales and backbone fitted. Opposite, centre, Fig. 3, stages in planking. Note use of clamps and tape. Below, Fig. 4, deck and sliding hatch. Other pictures opposite show the completed Golden Archer hull, planked in two shades of mahogany, and two earlier models, a 36R and an same place in the notches provided in the shadows, and secured at stem and stern. As can be seen in Fig 2, the backbone is 2 in. wide in the vicinity of the fin keel root and is reduced to 3 in. wide fore and aft. The inwales are next fitted in position, again in slots provided in the shadows, and secured fore and aft. They are made from + in. square timber, and to bend them to the correct shape it is wise to steam them prior to placing them in position, This is done by balancing a piece of metal tube about 1 in. dia. and 2 ft. long over the spout of a kettle, so that as the water boils the steam passes up the tube. Place the inwales, one at a time, in the tube, and leave them to steam for a few minutes. Backbone and inwales should stand proud of the shadows by 7s in. so that when the ribs are placed in position all surfaces are flush. The ribs are made from zs in. ply cut into } in. wide strips, and are glued and pinned using small brass nails. It must be remembered that. when the hull is complete, the shadows have to be removed, and a certain amount of thought must be given to this before planking starts, as well as while fitting the ribs which can, of course, only be permanently fastened to the inwales and backbone, If the model you are making is fitted with a fin and bulb keel, cut a suitable slot in the backbone so that on completion of planking the keel can be slotted in place and glued permanently. The keel is allowed to protrude inside the hull and is attached at suitable points to deck beams, but any surplus is cut away to save weight and a lifting handle cut in the ply (and reached through the deck hatch) can be incorporated. The mast step is also mounted on this fin. A similar slot is also cut for the skeg. Planking starts at the inwales and each plank has to be tapered and bevelled at both ends and made to fit snugly to its neighbour. One edge of each plank remains square at all times and all the planing is 455 M, built by the author in the system. done on the other. Sharp tools are essential and you wiil soon learn how much to take off after a little practice. On a Marblehead the planks start off = in. wide and fore and aft are reduced to approximately is in. If the tumblehome is fairly pronounced this is when one starts with a plank 3% in, thick and the inside surface is hollowed out slightly by using a rotary file in a pistol drill prior to fitting in place. When the planks at the stern end reach the backbone a piece of timber 4 in, wide and 3% in. thick is glued to the backbone and this forms a rebate for the plank ends. At the forward end each plank is alternately overlapped, the completed surface planed smooth to a width of approximately }-% in. and a strip of timber glued and then shaped to continue the hull form: This helps to key the planks in place. A solid block of timber is then fitted to the forward shadow and then blended in to the hull shape making sure the overall length does not exceed 504 in. (Continued on page 461)


